Pear Recipe #2

IMG_9108

I will continue to say this over and over again. I am all about easy recipe! Especially recipes that taste good! One of these was shared by a friend and the other was found and given a twist (which will be shared later!)

IMG_9146

#2 includes quesadillas! You will need…

quesadillas

pears

honey

brie cheese

cinnamon

butter

IMG_9147

Coat the outside of the quesadillas with butter and turn a frying pan onto medium heat! Place as much brie cheese, pears, cinnamon, and honey in the middle! Cook the quesadilla until the outsides are crisp and brown or the cheese is melted! Cut into slices and enjoy!

Parmesan Tortellini Poppers

IMG_3598

My husband rated this recipe a 10! Wahoo! This is super simple, and once again, you can do a lot of things with it! These could be made for small or big groups of people as well! I’d say it’s another good game day recipe for sure!

What you’ll need…

-Marina Sauce

-1 package Tortellini (I use the fresh kind)

-Shredded Parmesan Cheese (I use the fresh kind)

-1 c. of Panko

-Flour

-3 eggs, beaten

-Vegetable Oil

IMG_3601

Cook the tortellini in a large pot. You can follow the directions on the package! When finished, strain the noodles and put oil into a skillet to heat. I put the heat on medium.

IMG_3606

Put the eggs, flour, Panko/Parmesan cheese into different bowls or plates. Roll the tortellini in the flour, then egg, then in the Panko/Parmesan, and place into the skillet. Cook until browned.

IMG_3619

You can eat these immediately with marinara sauce and side with any type of vegetable! They take a little bit of time to prep, about 15 minutes, and about 10 minutes to cook them!

 IMG_3618IMG_3617

I hope you all had a wonderful, relaxing weekend amidst all the bustle of life! We are staying busy, that’s for sure!

4 Ingredient Watermelon Ice Cream

I have to admit. This was not my most successful recipe attempts. In fact, it could go under the “nailed it” group on Pinterest. That’s how not like the recipe this attempt went. Even my pictures of it were just poor. Maybe it means I’m not supposed to make ice cream. Maybe it means I’m not supposed to take pictures of ice cream. I’m not sure, but I don’t know when I’ll attempt an ice cream recipe again after this! 😉

IMG_3580

Your ingredients for this recipe are…

Watermelon (I used half a watermelon)

Vanilla (either pure extract or scrapings of it)

An additional fruit (anything that you’d like! I used prunes- why? I don’t know.)

Coconut milk (1 can)

IMG_3563

Start by blending the watermelon, vanilla, other fruit, and coconut milk all together. When fully mixed, pour into a cake pan and place in the freezer! You will need to freeze it for at least 3 hours.

IMG_3565

Once out of the freezer, blend again until you have smooth. creamy ice cream texture. This took me awhile and I had to add more coconut milk because my blender couldn’t just blend the chunks. When creamy, pour back into the cake pan and place in the freezer for another 30 minutes!

IMG_3581

Lastly, scoop and eat! It’s sweet and has a dominant taste of watermelon!

Now here’s the deal. In the picture it looked bright pink and scooped like real ice cream. Mine is dark (maybe because of the prunes) and felt apart while scooping. I’m not sure if it tastes how it is supposed to, but at least it doesn’t taste bad! I may try it again with a different fruit combo.. I’m not sure. If you try it, good luck! If it works better than mine did, give me your secrets! 🙂

3 Ingredient Oreo Truffles

IMG_3550

Hello everyone! Let me apologize again for the silence. There have been two main reasons for it and I will share them with you both. The first is that I have been quite busy with work and life! I feel like I have been running on full speed and it just hasn’t slowed down. I’m not used to it being like this. I normally make sure that it goes slowly and make a lot of time for rest and alone time. I’m trying to find a balance between the two. I’m not sure if I’ve found it, but I know it normally doesn’t stay balanced! The second is that I haven’t had motivation or inspiration to blog. I’ve been feeling like I am in a creative rut, which has made me not want to do ANYTHING creative. Anything creative as in creating things from myself or food. I’ve been feeling like quitting altogether, (which I know I never would), but I just have felt that. I am now attempting to get out of that rut, and I started today with some 3 ingredient Oreo Truffles! I’ve made these before back when I was in high school, but it’ been quite some time. I thought about these because I know my husband loves Oreos, so why not make truffles and have some leftover Oreo’s to eat with milk?

IMG_3560

I love this recipe because, well, it has 3 ingredients! The ingredients are…

White Chocolate Chips (2 bags)

Oreos (1 package – 15 oz.)

Cream Cheese (1 package – 8 oz.)

IMG_3535

Crunch the Oreos up anyway that you can! Maybe with a food processor (the fastest), a bag and a rolling pin (next fastest), or crunching them with a spoon (slowest). Once they are mashed up, put the cream cheese in and mix it all together. Place wax paper on a baking sheet and roll the mush into ball of any size!

IMG_3537

Put them in the fridge for an hour or the freezer for half an hour until they harden! Save a little bit of the smashed Oreo pieces if you want to add them on top!

IMG_3554

When the Oreo mush has hardened, melt the milk chocolate into a pan. You can use the stove method or the microwave method. I used the microwave method. I poured the chips in to a bowl, put the timer on for 30 seconds, and stirred. Repeat this until it has become smooth. Don’t keep going after you get the smooth/creamy chocolate feel!! It will harden and not work for you! Once ready, roll the mush into the chocolate. Cover the ball with the chocolate and sprinkle those extra Oreo pieces onto the top!

IMG_3558

These are REALLY sweet! (At least to me!) However, you get a BUNCH of them and they last a long time! I’m going to be bringing some to school to share with my coworkers (and to get them OUT of my house ;))!

IMG_3546IMG_3545

Leave a comment if you’d like me to try something (a recipe, craft) or post about something (magazine, small business)! I’d love to have some ideas! I hope you had a wonderful Labor Day weekend, and that it is not TOO hard to go back to work!

IMG_3538

Game day!

I apologize for being MIA for the past two weeks. School starting was definitely a whirl-wind and there’s so much going on outside of it! On top of that, I feel like I have hit a creative lull with hand lettering and blogging. I also apologize for this post because it is going to be a quick one as well! It’s another simple recipe that you can make for just you or a big group of people. This recipe is great because you can make it as complex or as simple as you want it to be!

IMG_6327

(Recently I watched a video from NutritionSimply on styling, so I gave her styling tips a try! I definitely have a long way to go before they are anything like hers. She’s incredible at it and her Instagram feed will make you drool!)

First on the menu are the ham sammies. These can be paired with many different things! Corn, applesauce, green beans, or chips! We always have left overs and they lasted us a whole week worth of lunches for the both of us! These sammies are also something you can do a lot with! You can choose your meat, cheese, bread, toppings,

What you’ll need…

poppyseeds

ham

cheese (I used pepperjack)

butter (for coating)

dinner rolls

mayonnaise

mustard (I use dijon-grey poupon)

I preheat the oven for 350 degrees and once they are ready, cook them for 12-15 minutes. I always go in the middle, so I shoot for 13:50. 🙂 I lay the dinner rolls out of a pan coated with wax paper. I mix the mayonnaise and mustard together and coat the inside of the rolls. I put the ham and cheese on, then close the roll. I heat some butter up and spread it on the top of the rolls. Next, I pour on the poppy seeds! Again, I cook them for around 13 minutes at 350 degrees.

Let me know what you think if you give them a try!

Chicken and Spinach Pasta Bake

IMG_2176

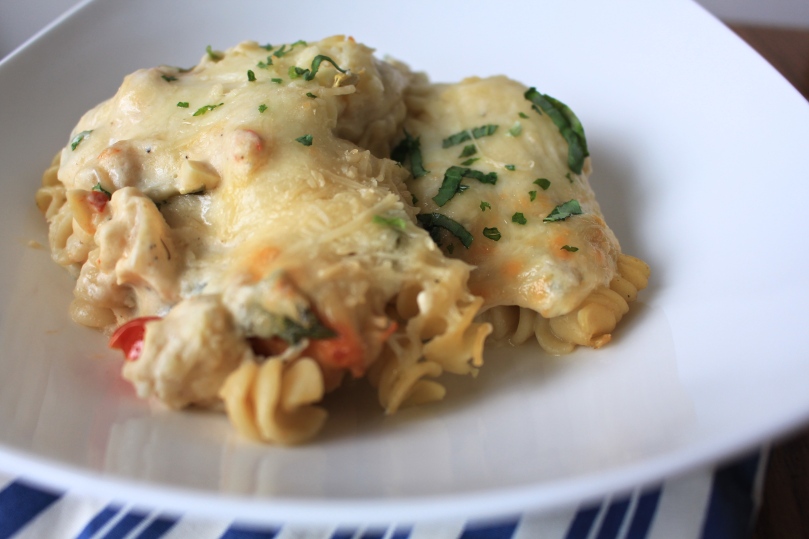
This recipe bakes in 20-25 minutes, BUT it is not the quickest recipe in the books. I originally thought that from the picture it would be as simple as throwing 4 items into a bowl and baking it. Not the case. Not the case at all! This recipe has a lot of ingredients that goes along with it. I luckily had the ingredients in the fridge so it didn’t cost any extra! On the other hand, I managed to use only two pots. I’m a fan! My husband gave it a 9! I’m even more of a fan!

IMG_2150

What you need…

cumin

10 oz pasta (I used penne)

2 tablespoons butter
half an onion, chopped
2 cloves garlic
4 ounces cream cheese (the original recipe calls for chive and onion/I used regular)
1 cup sour cream (plain Greek yogurt can substitute – I’ve used it before!)
1 cup whole milk (heavy cream or half-and-half are substitutes)
1/2 cup Parmesan cheese
2 cups mozzarella cheese
salt & black pepper
crushed red pepper flakes
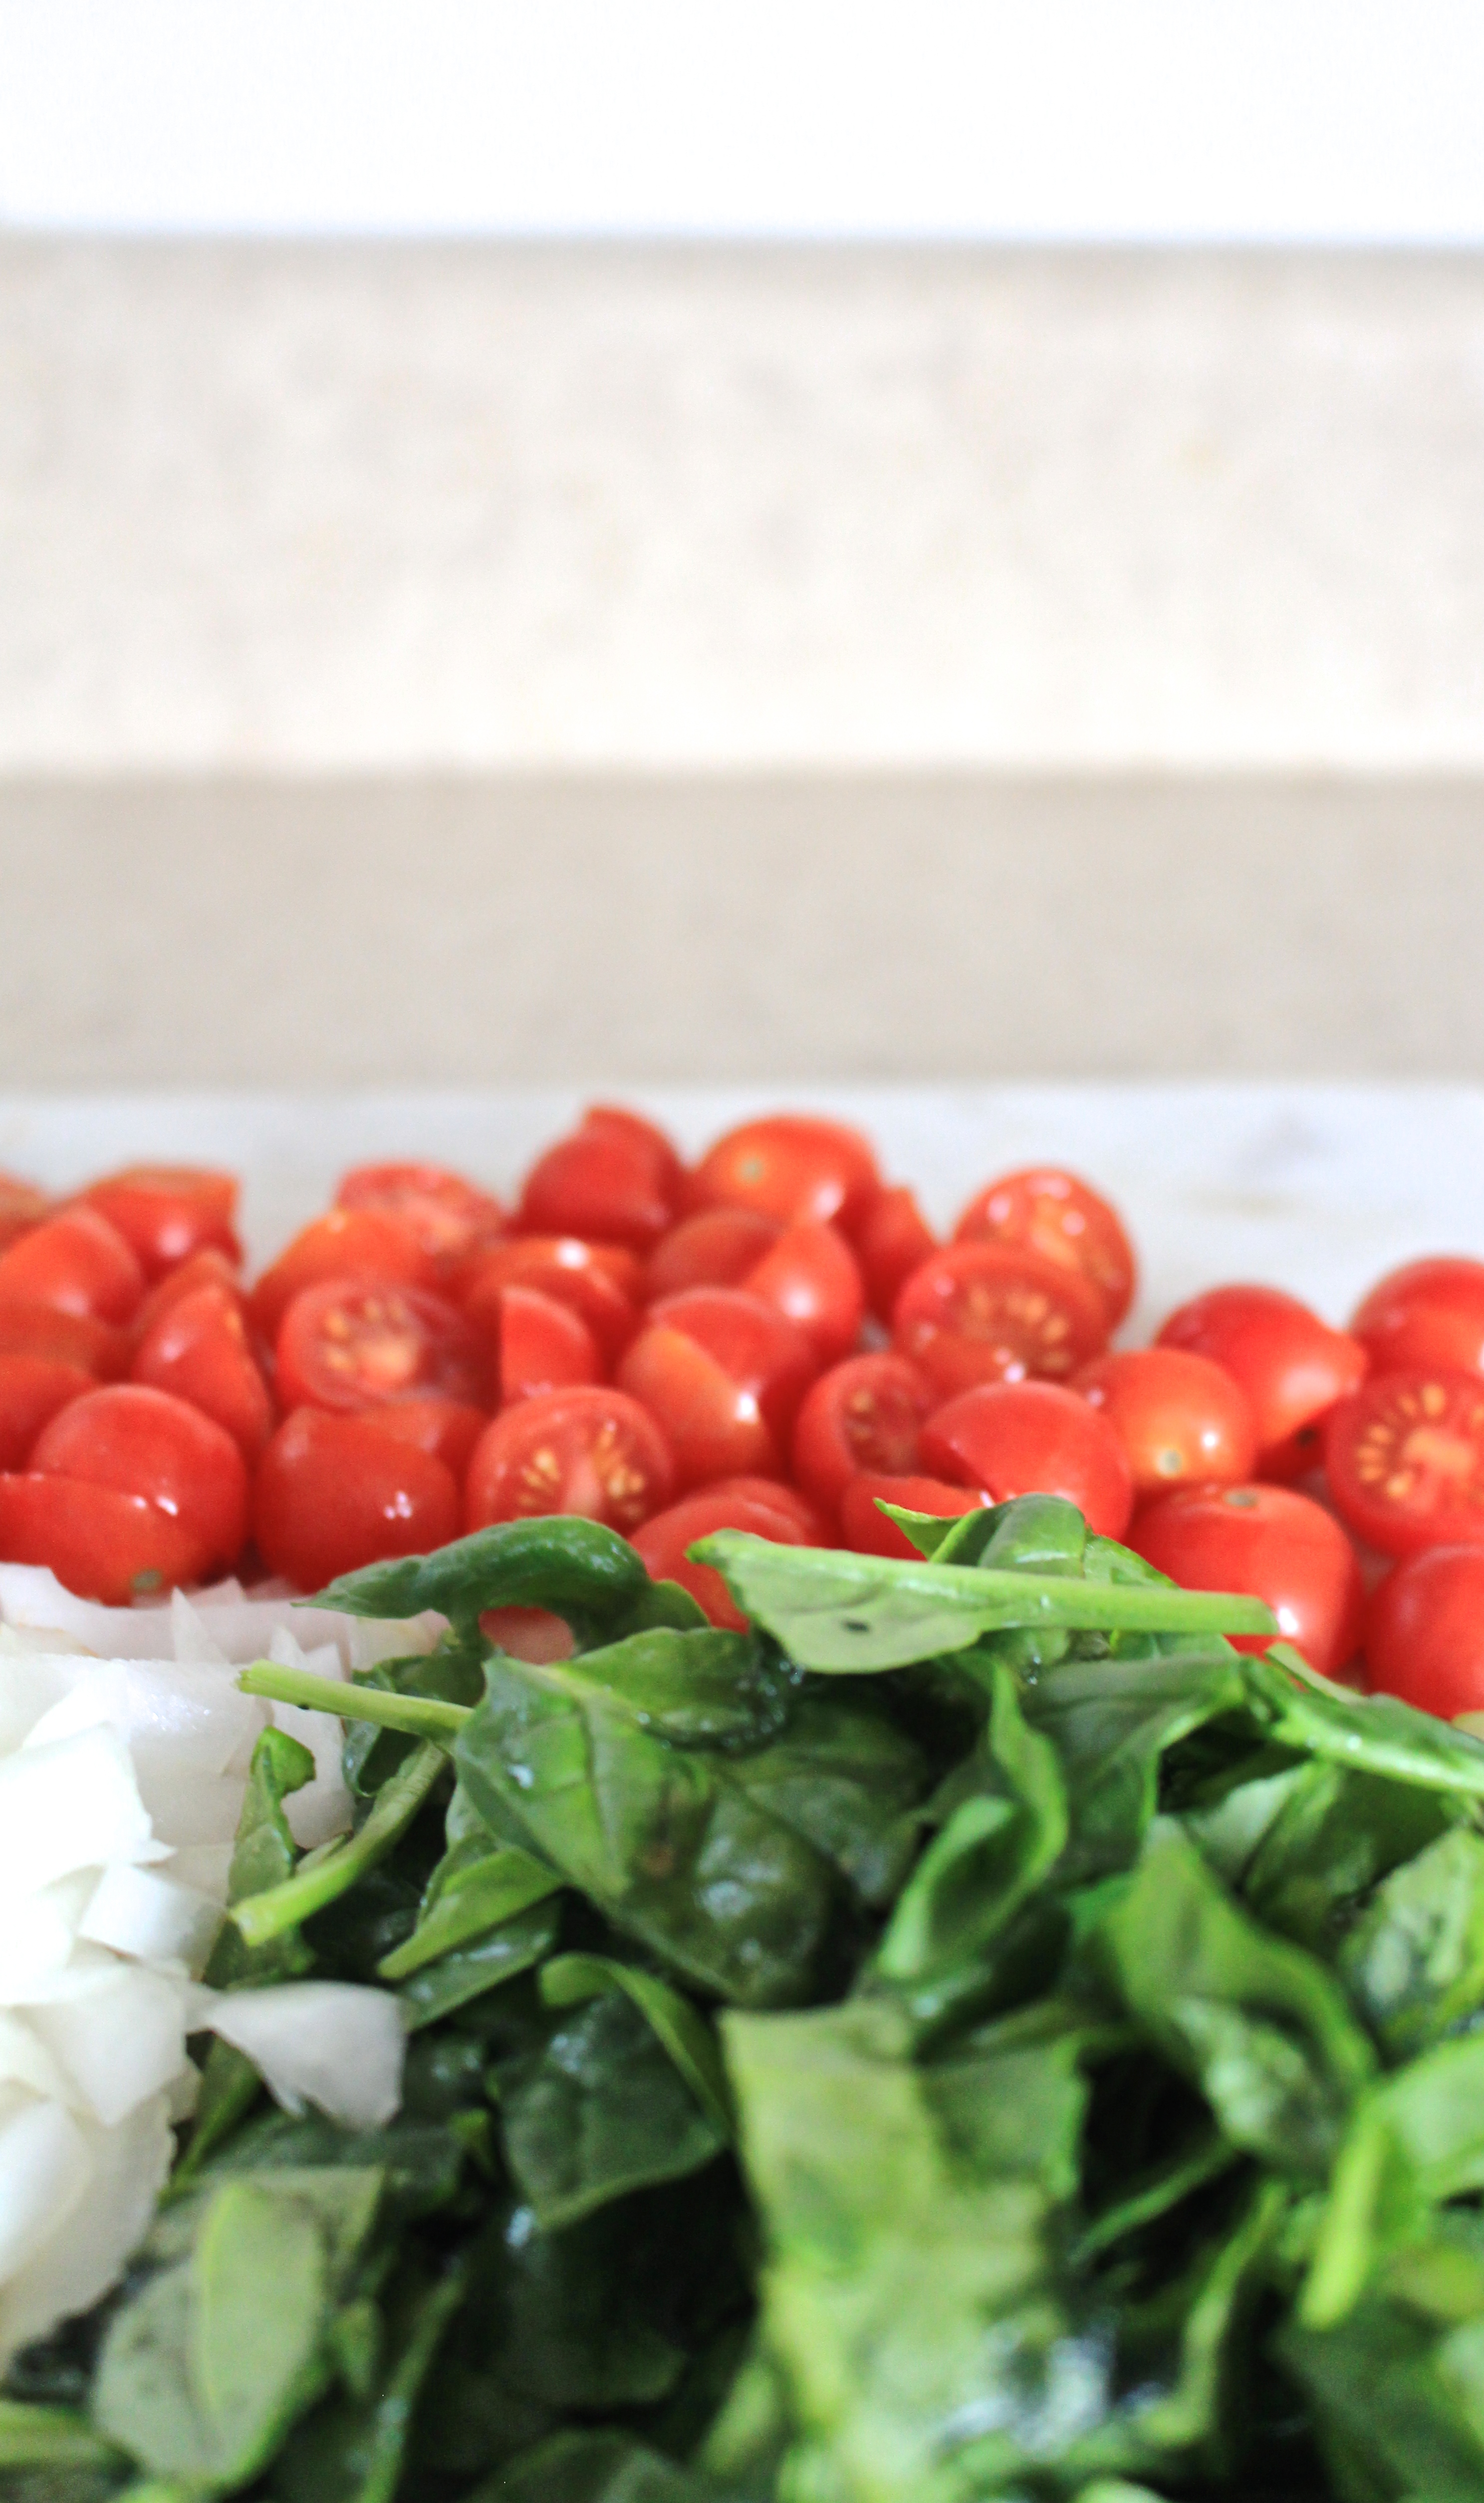
2 cups fresh spinach
chicken
1/2 cup fresh tomatoes cut
basil or parsley to top

Pre-heat the oven to 400 degrees.

Cook the cubed chicken in a frying pan.

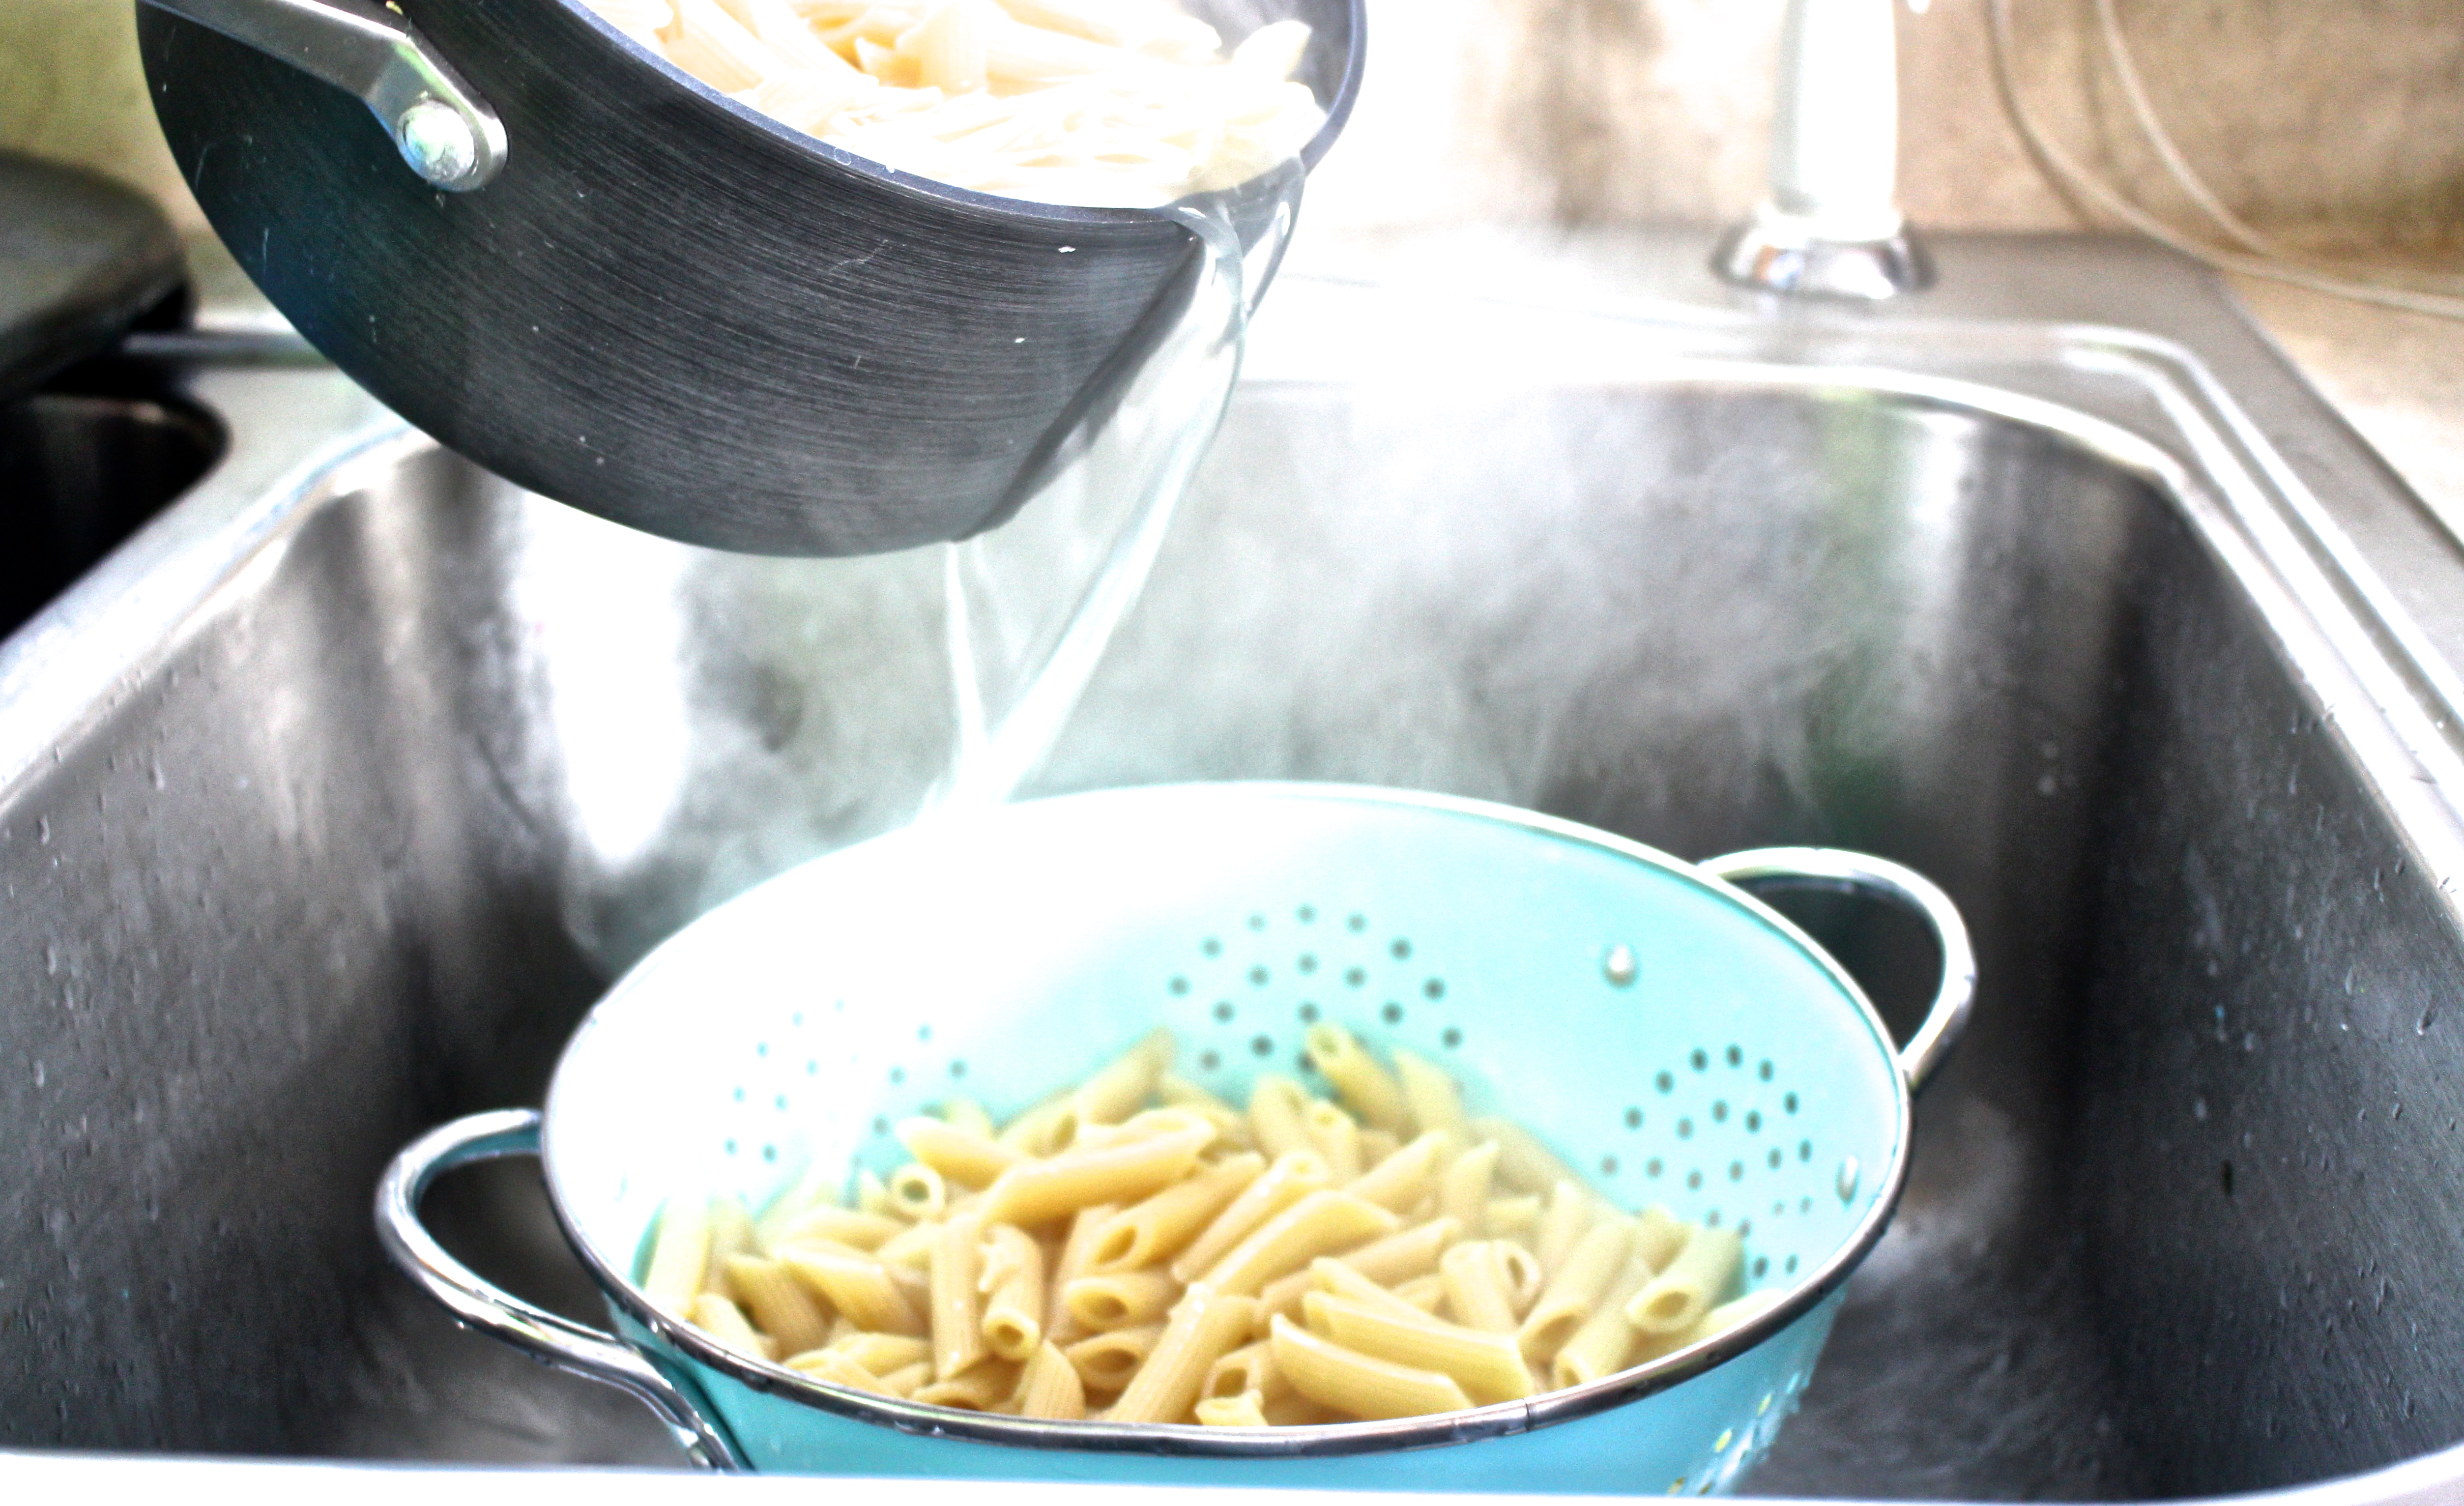
While the chicken is cooking, cook the pasta as well!

IMG_2148

Once the chicken is cooked, in the same pan, you are going to make the sauce.

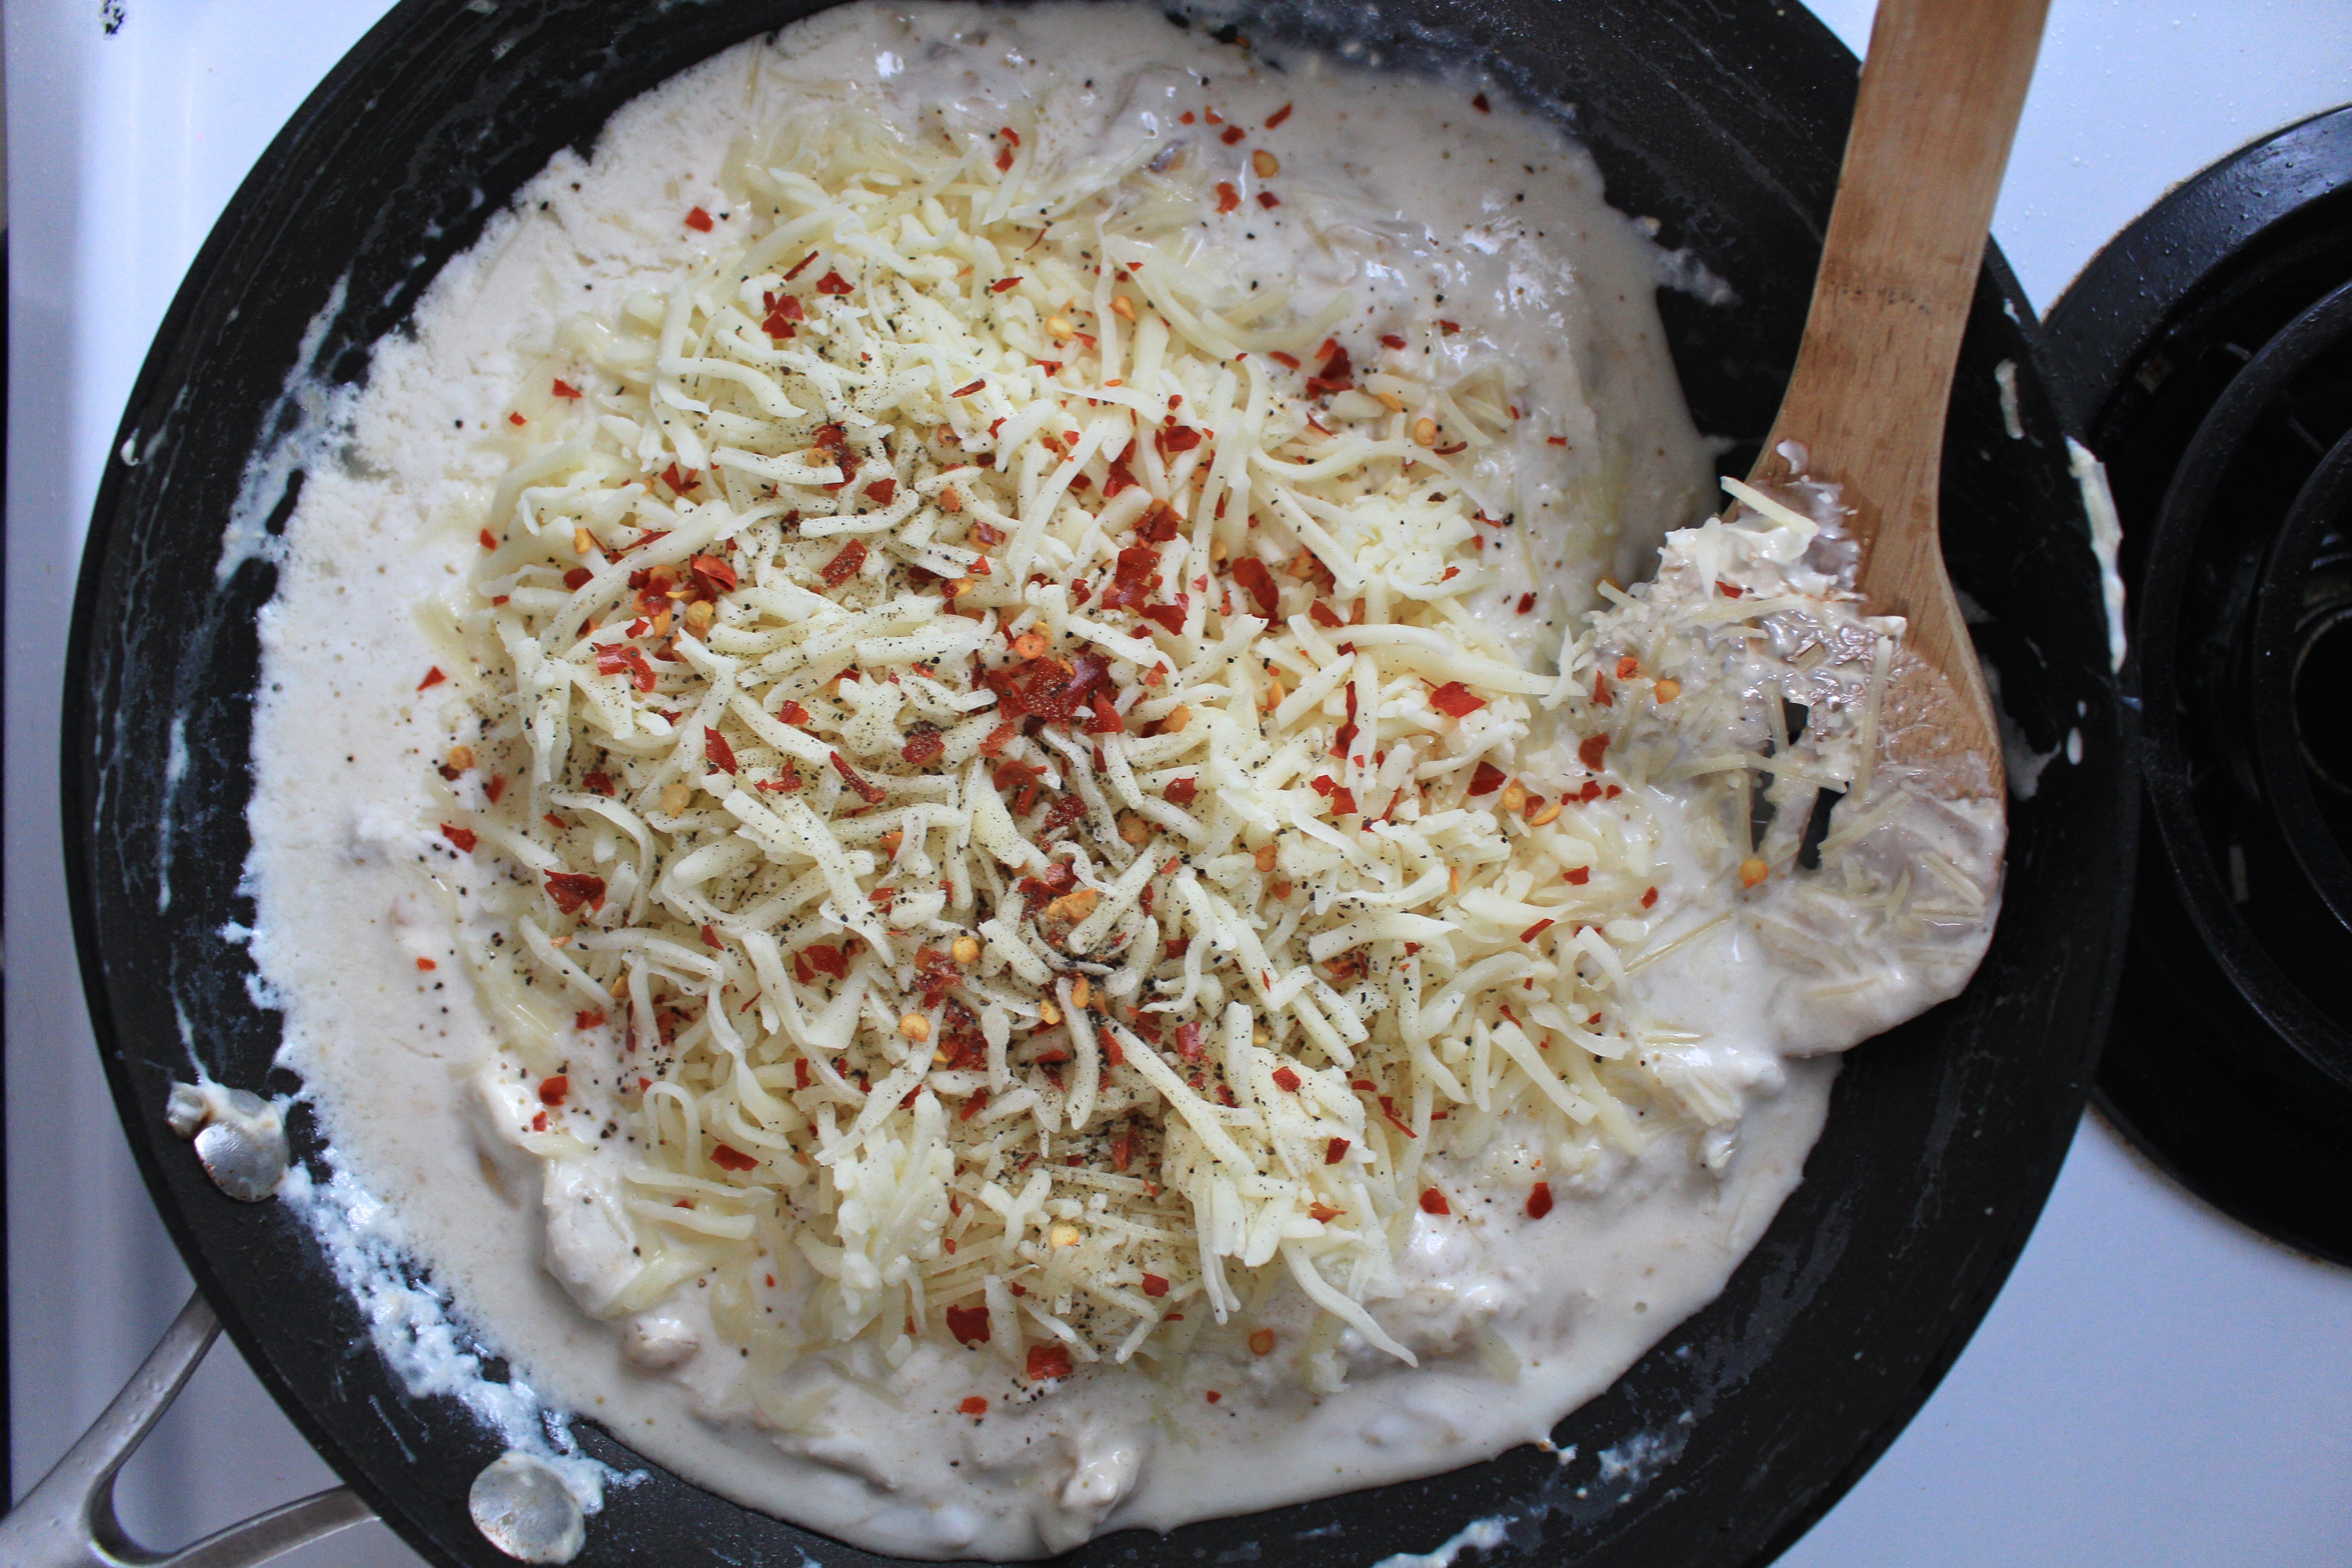
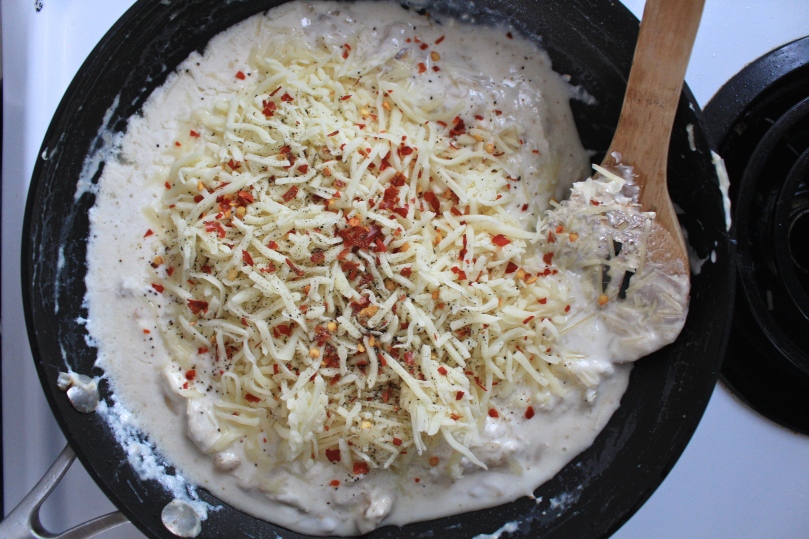
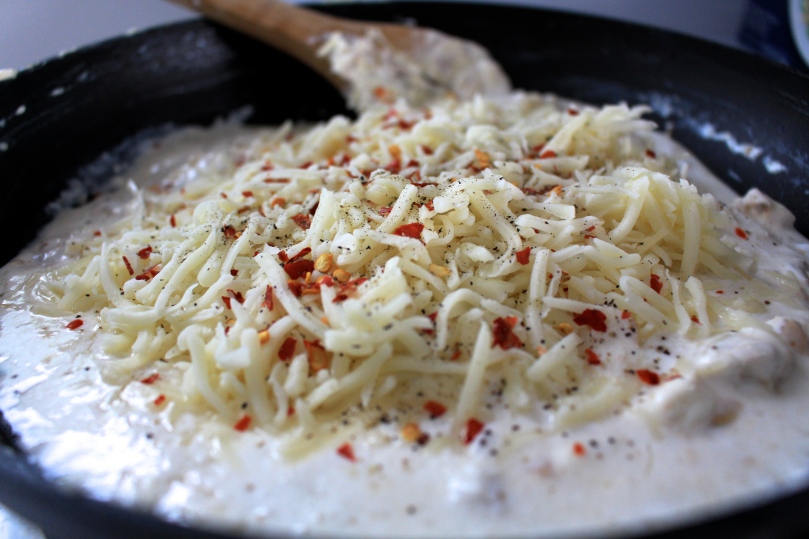
In the pan, melt the butter. When the butter melts, add the garlic and onion. Cook until they are soft not brown! Add the cream cheese and melt, then turn the heat to low. Now, add the sour cream, milk, crushed red pepper, cumin, both cheeses (but not all of it! Don’t forget you’re covering the dish in cheese at the end, but you didn’t know that yet. :)), salt and pepper, and dried basil leaves or parsley if you’d like! Stir until all of the ingredients have melted and combined into a yummy sauce. I tasted mine a few times and added more to make the flavor a little stronger. The original recipe doesn’t include dried basil leaves/parsley or cumin, but I just prefer stronger tasting things! Turn off the heat and focus on your ingredients that are left!

IMG_2153

IMG_2152

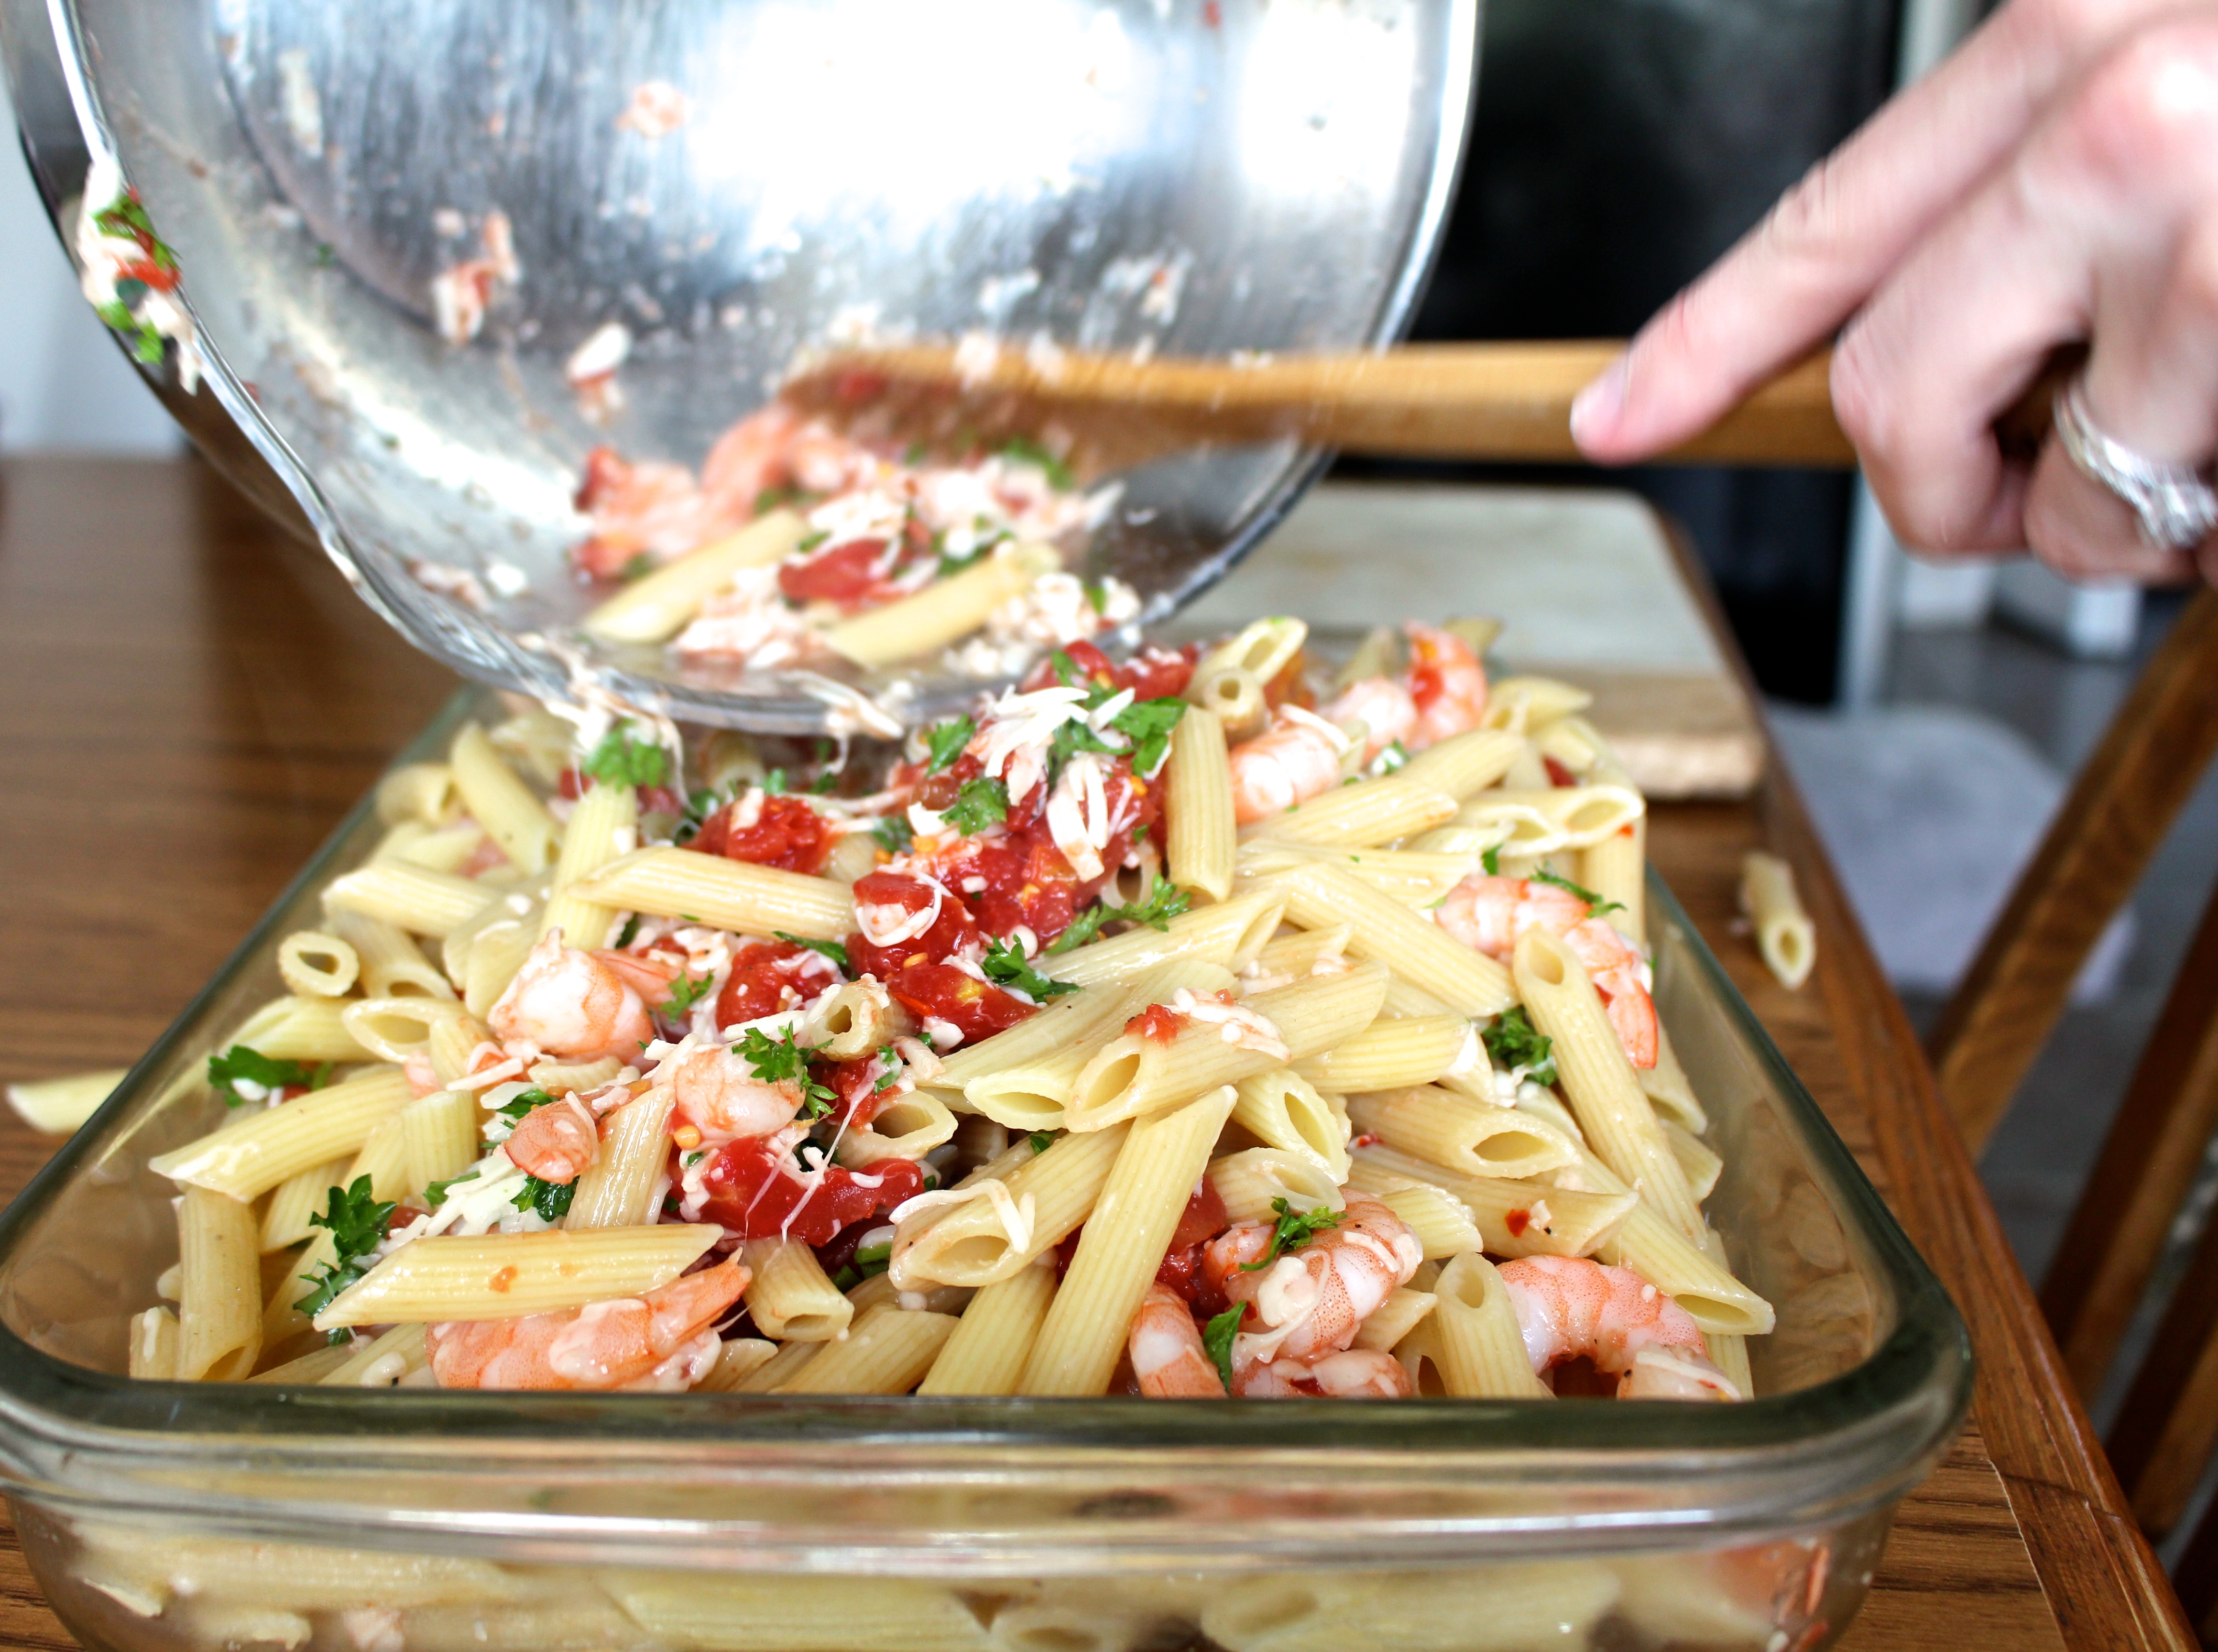
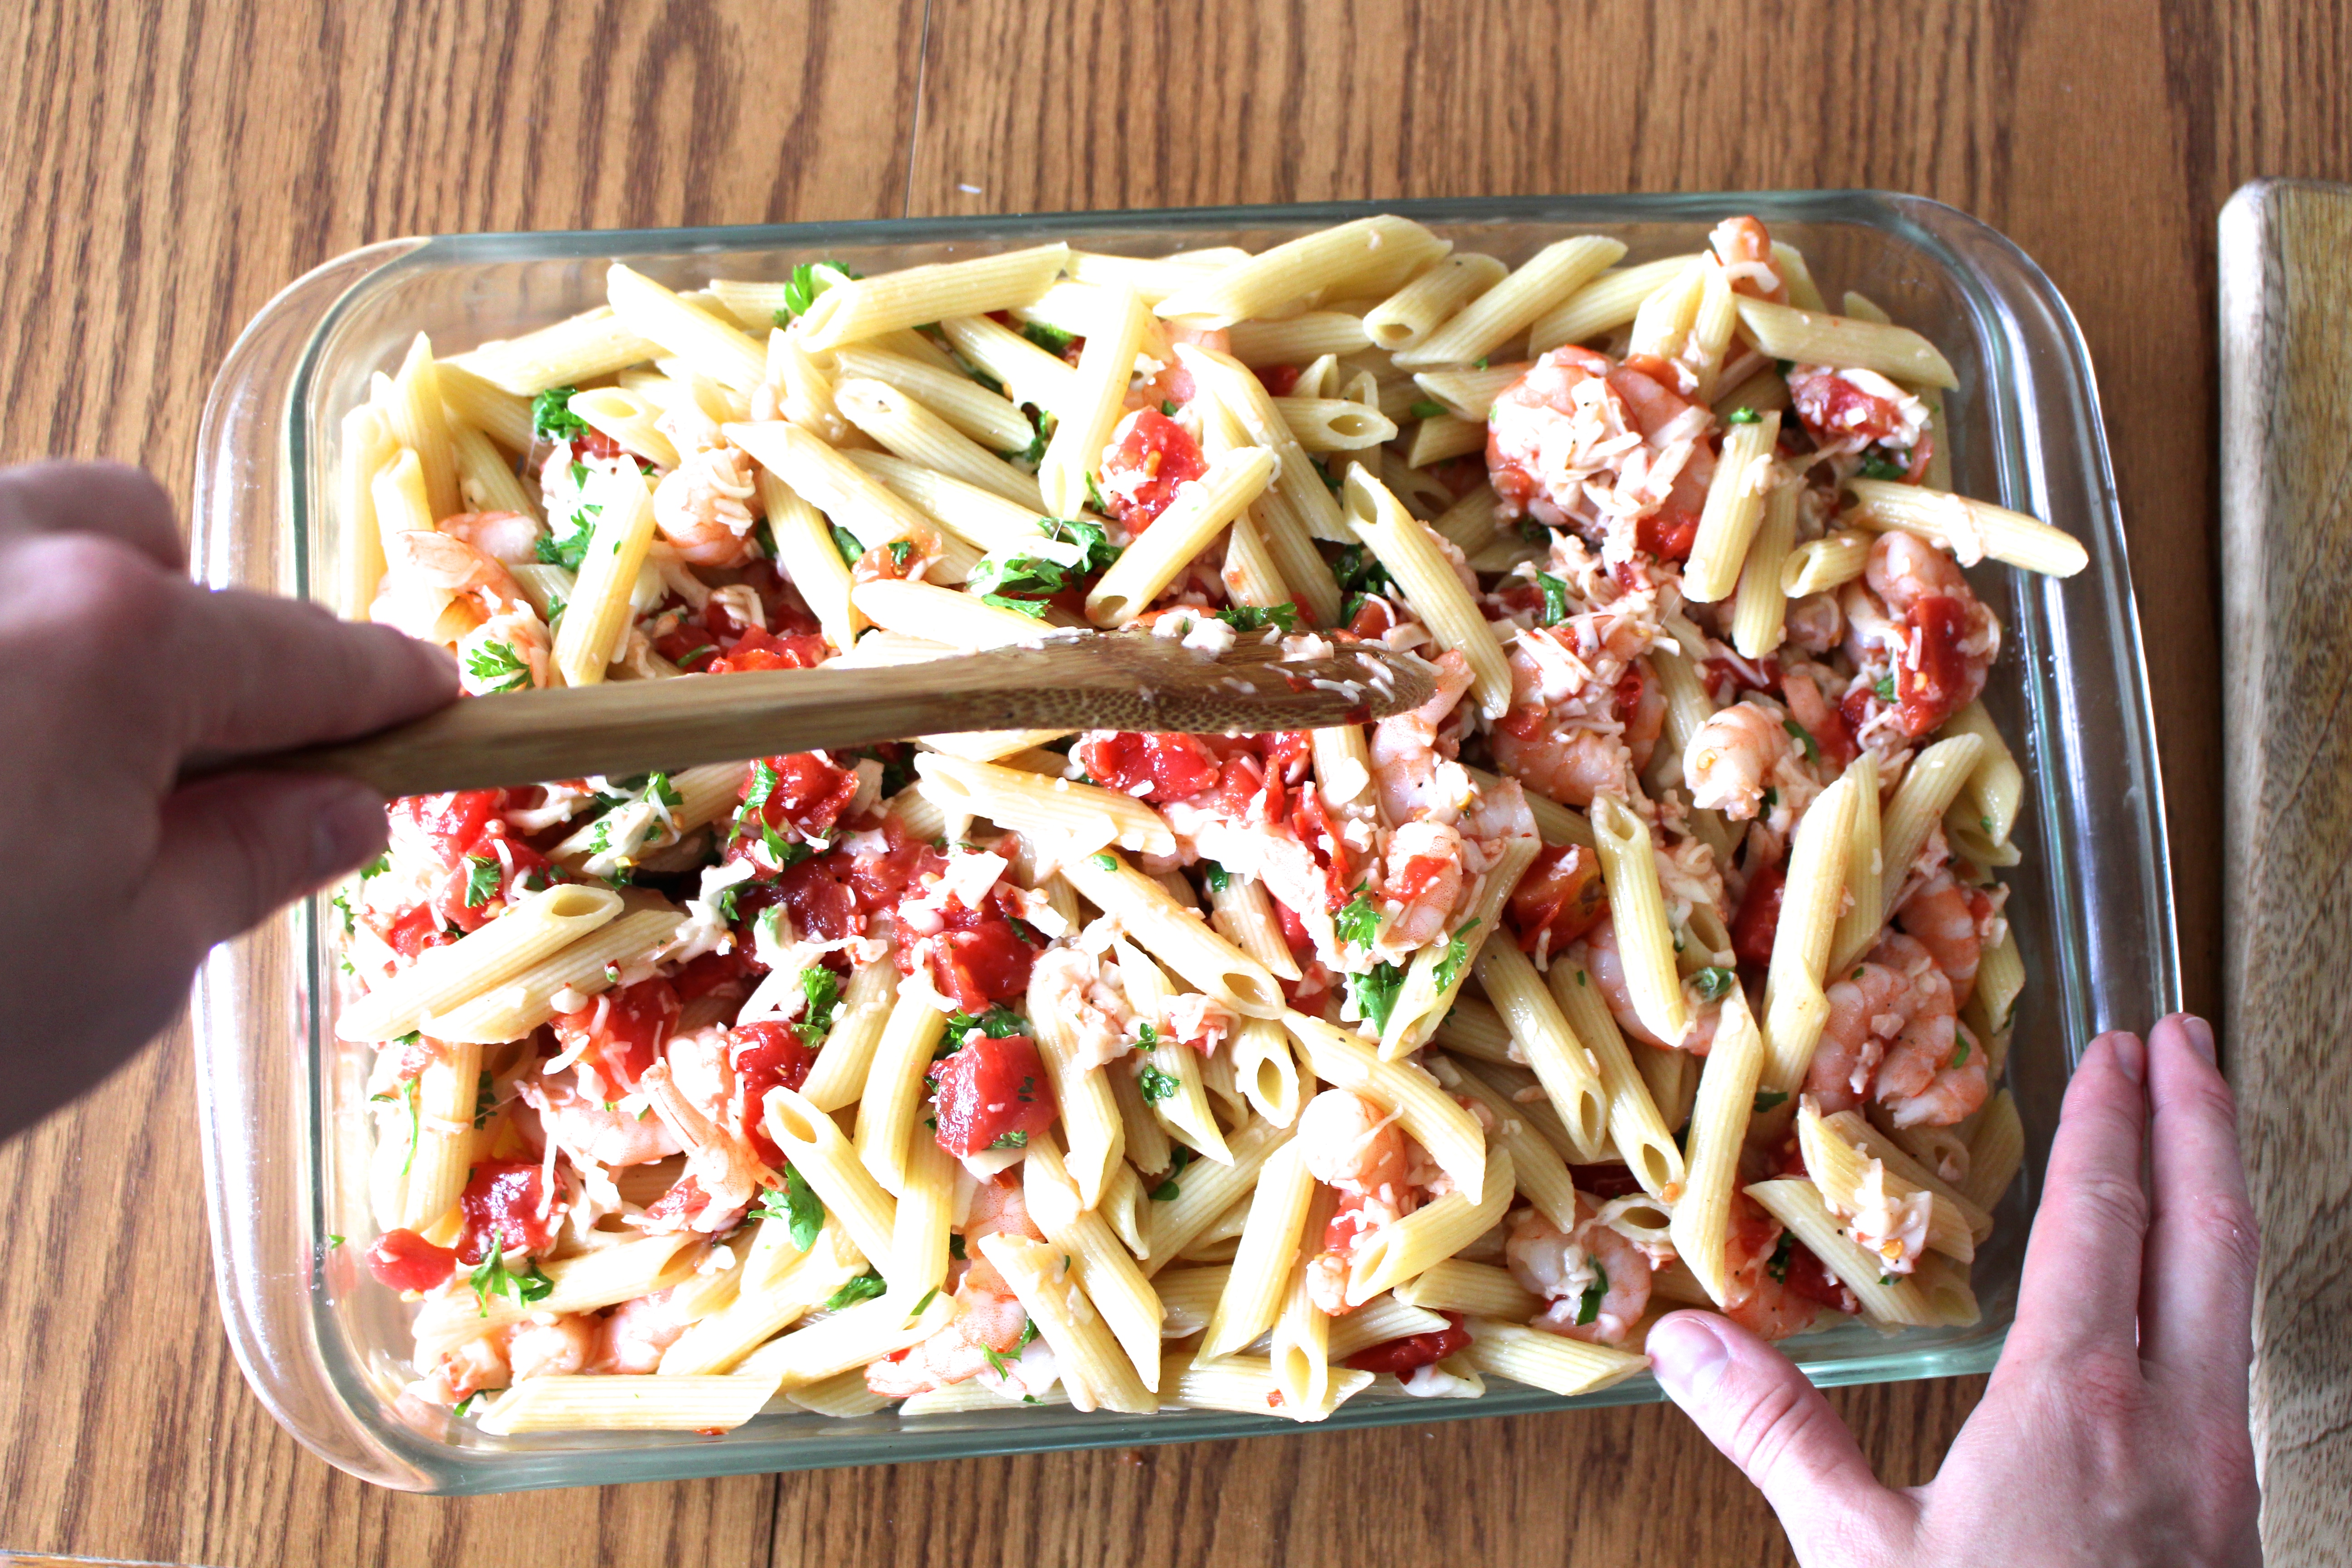
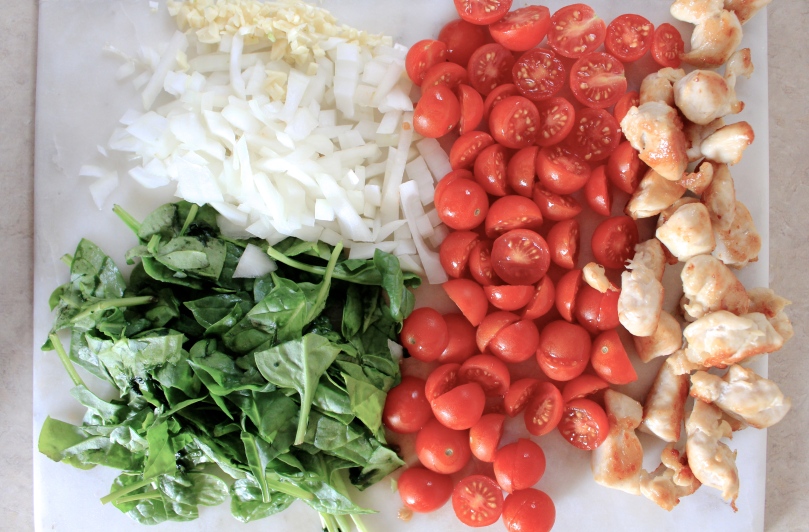
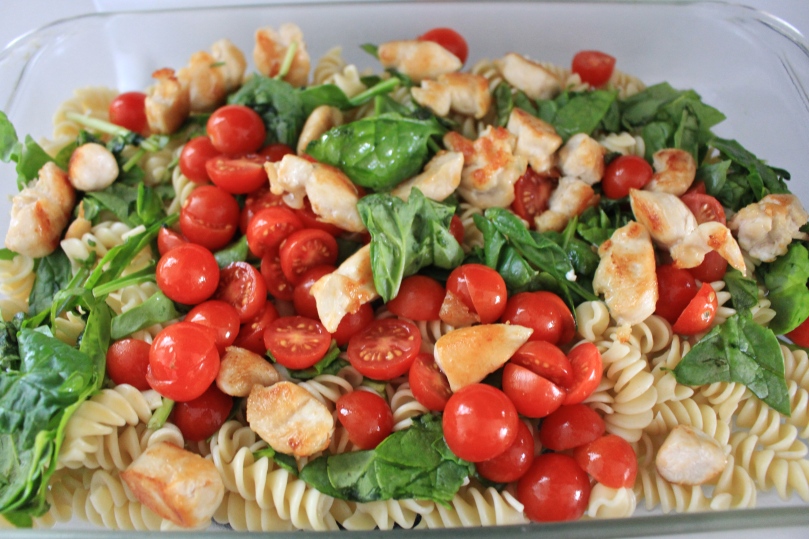
In the original recipe, they used a 10″ round pan, but I used a 9×13 and it worked great. I don’t have a round pan, but I might need to invest in one! In your bowl/pan, combine the chicken, pasta, spinach, and tomatoes. I layered them with the pasta first, spinach, tomatoes, then chicken.

IMG_2154

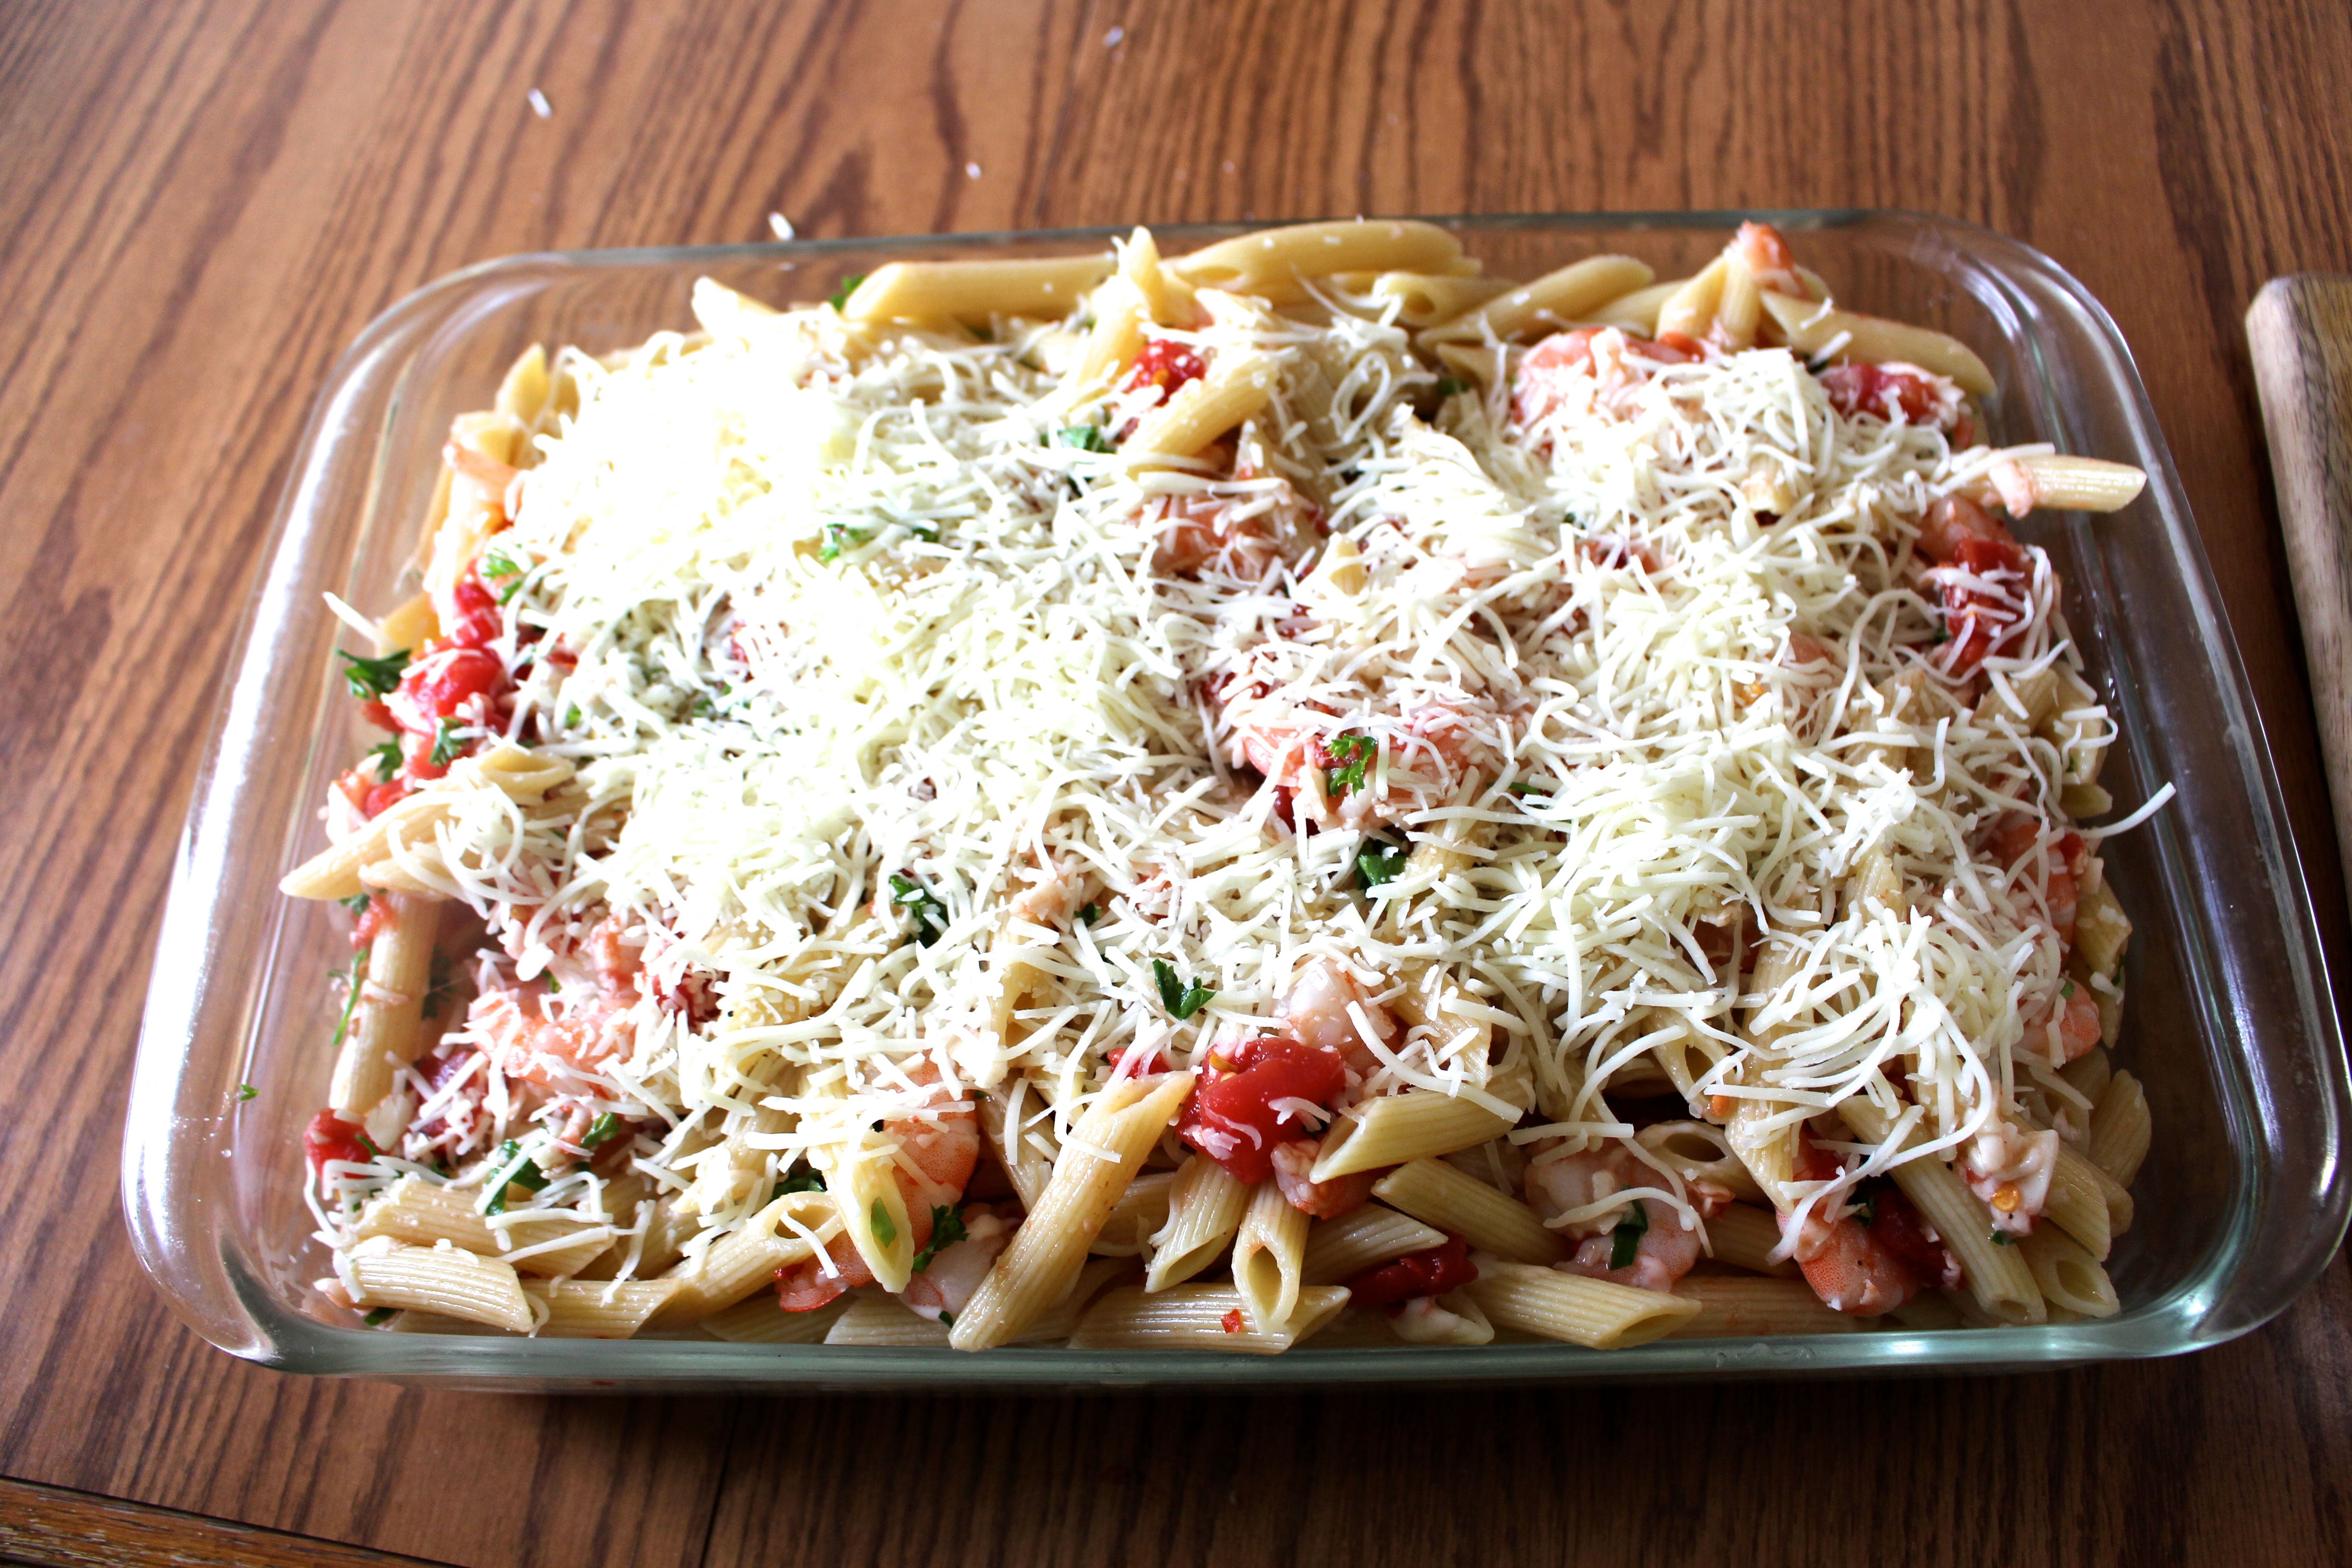
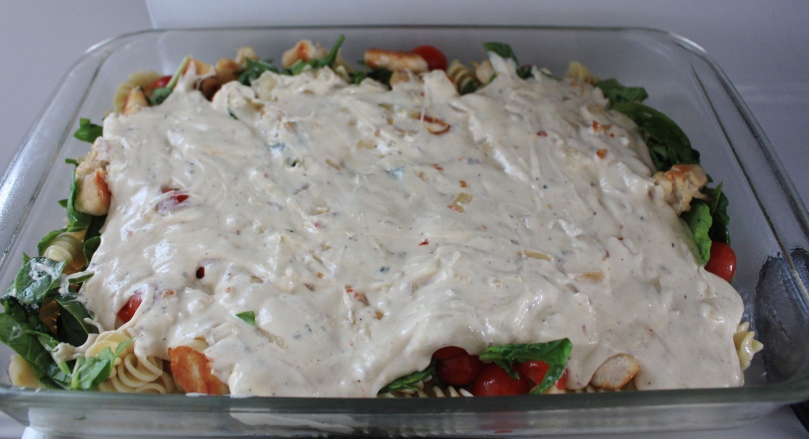
Cover these layers with the sauce then coat in more cheese. Yum! Again, my husband loves cheese, so I used up all the rest of the cheese we had! (Don’t worry- we’re going grocery shopping tomorrow!)

IMG_2155

IMG_2157

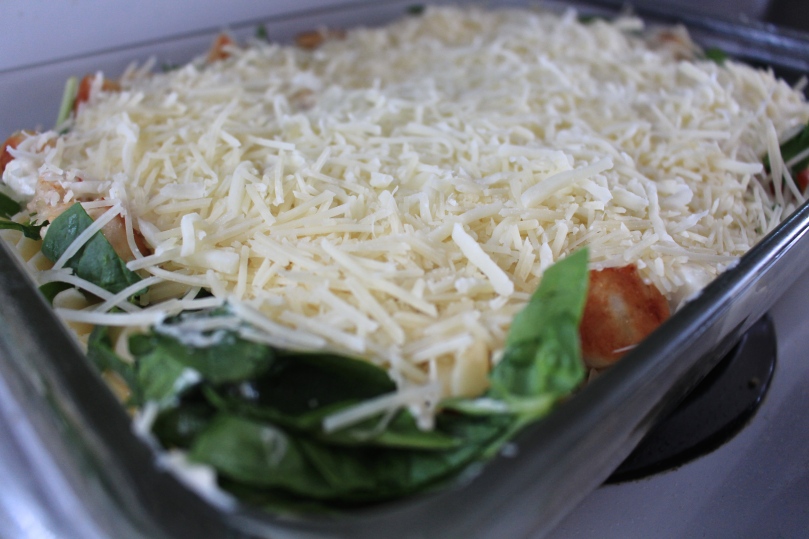
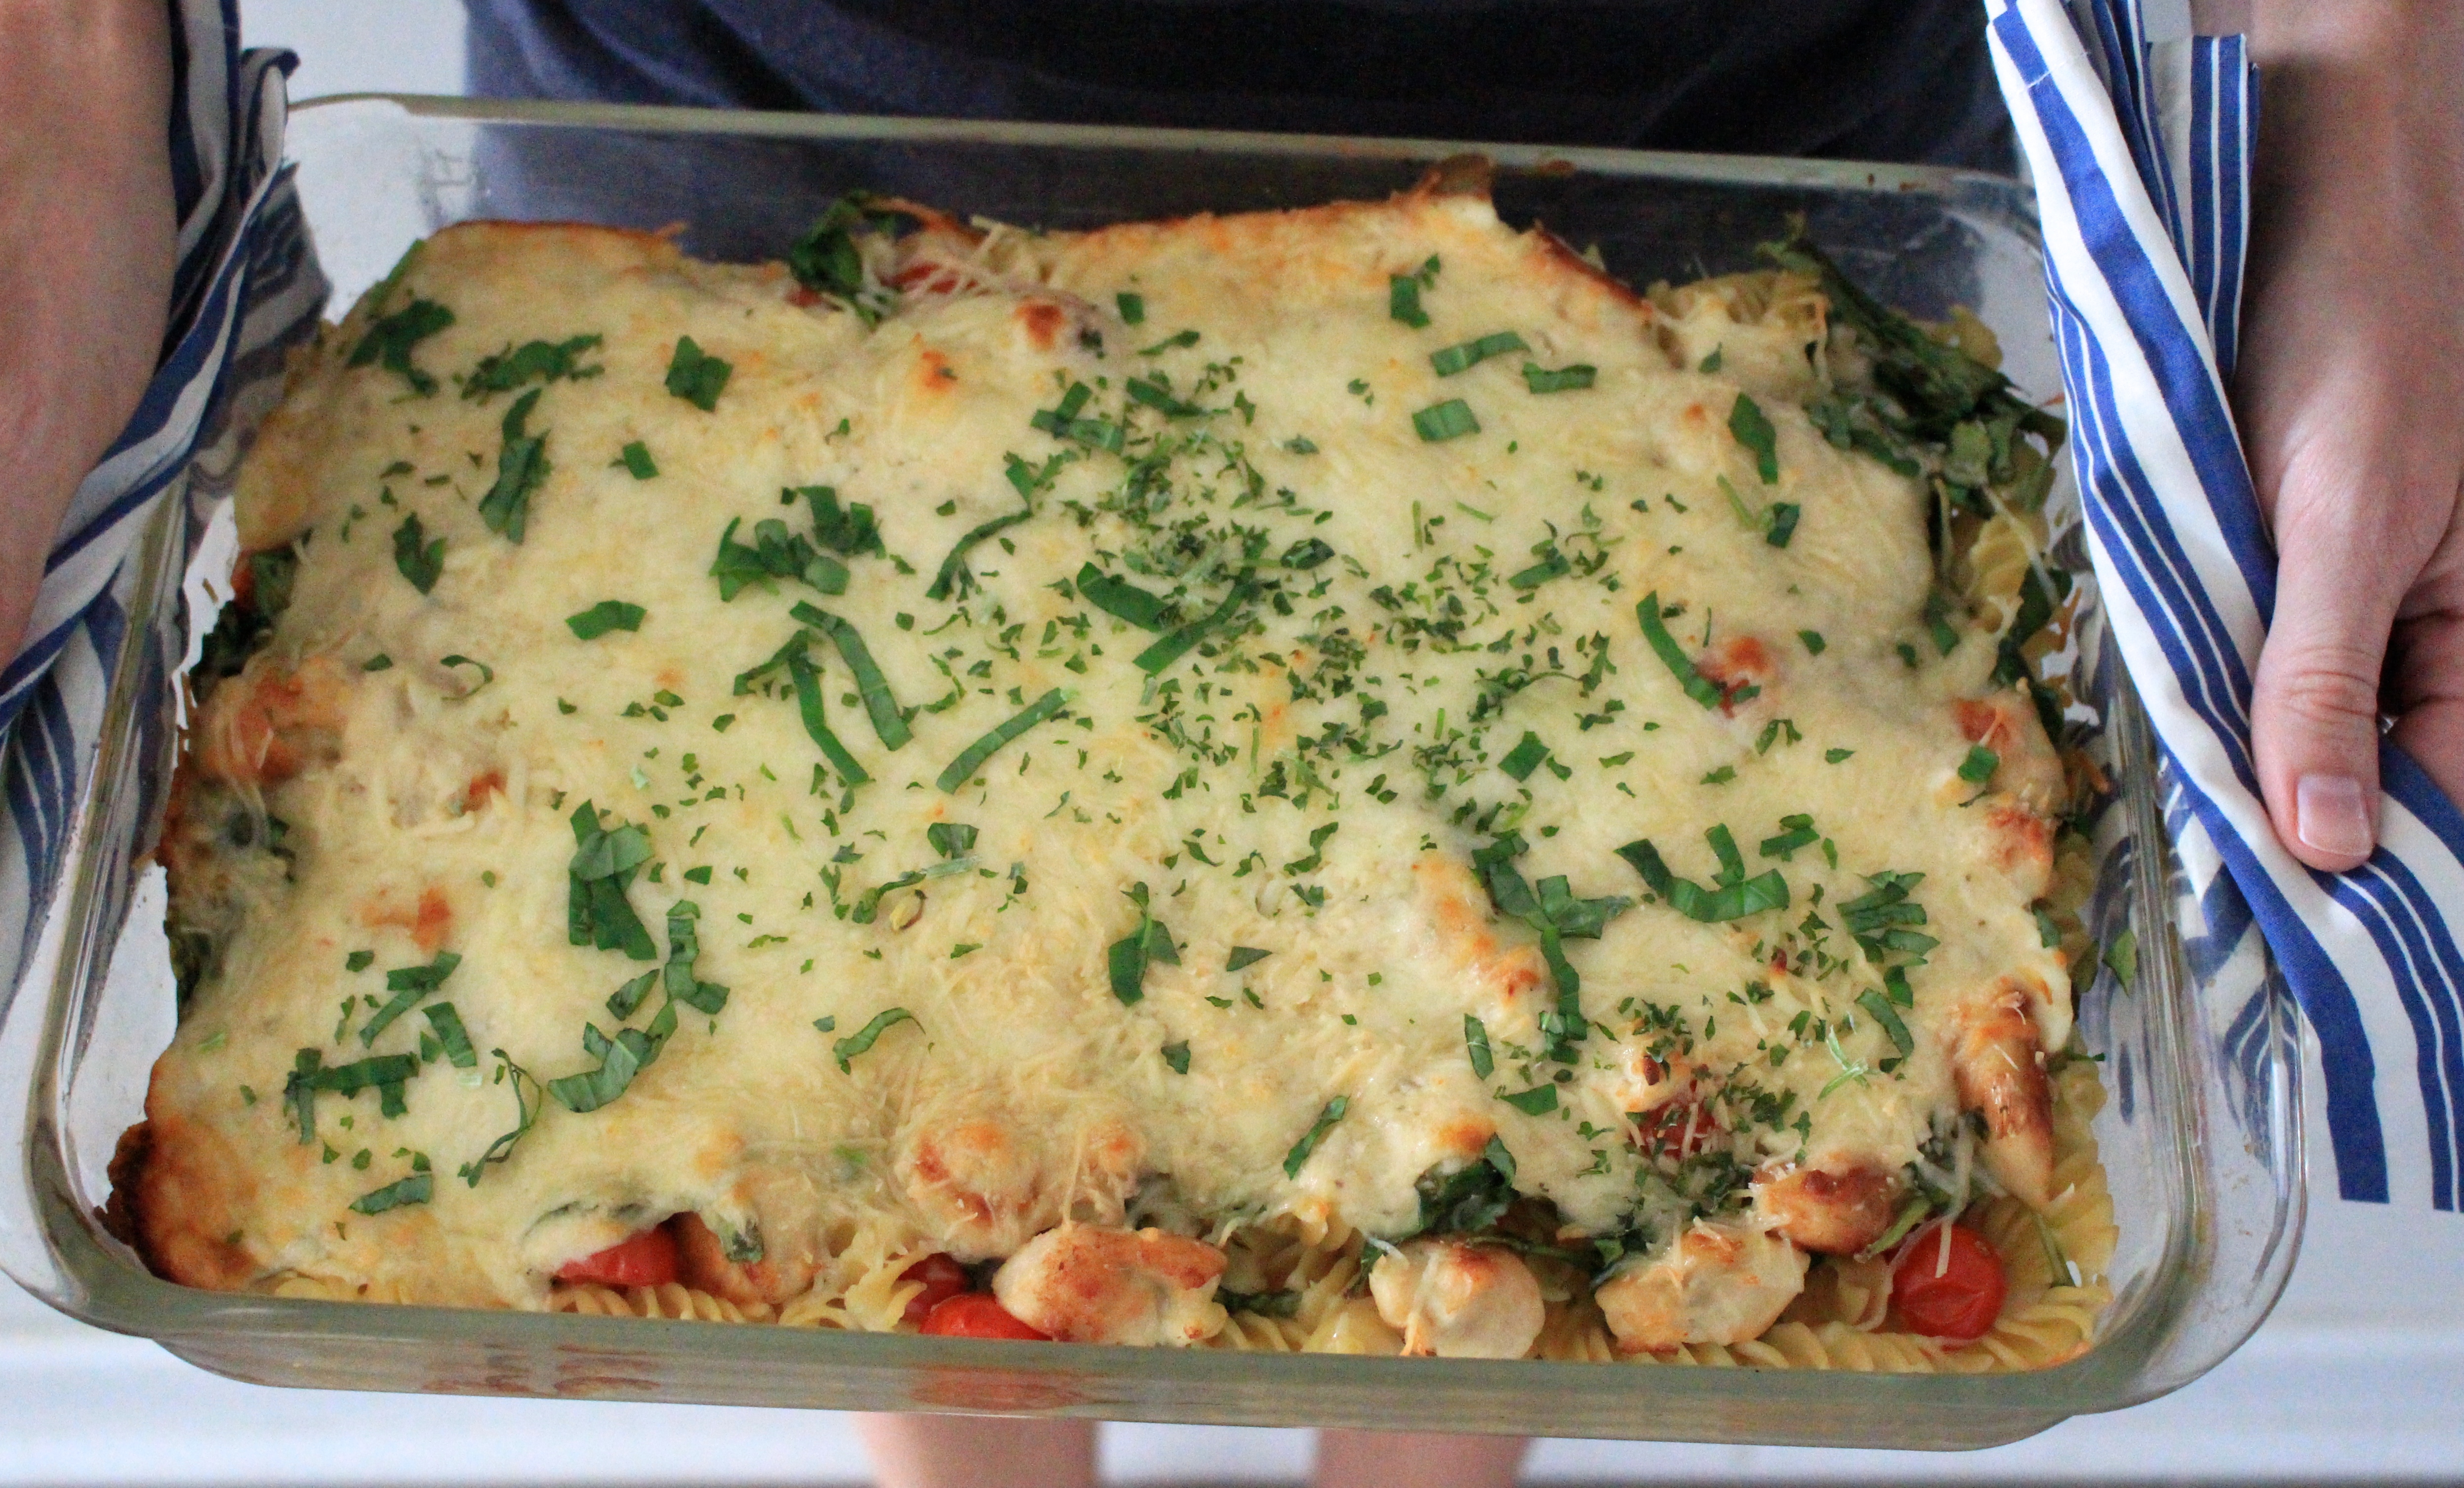
Put in the oven and bake for 20-25 minutes. I did 23, because it is basically in the middle.

IMG_2159

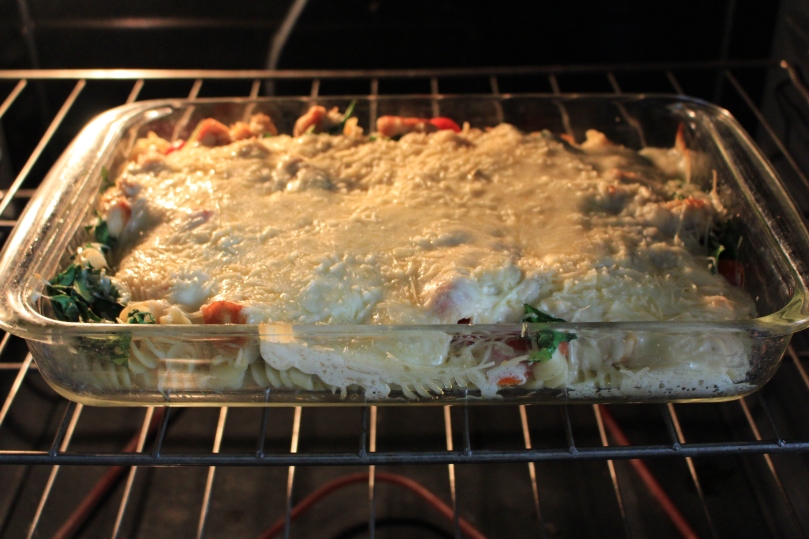
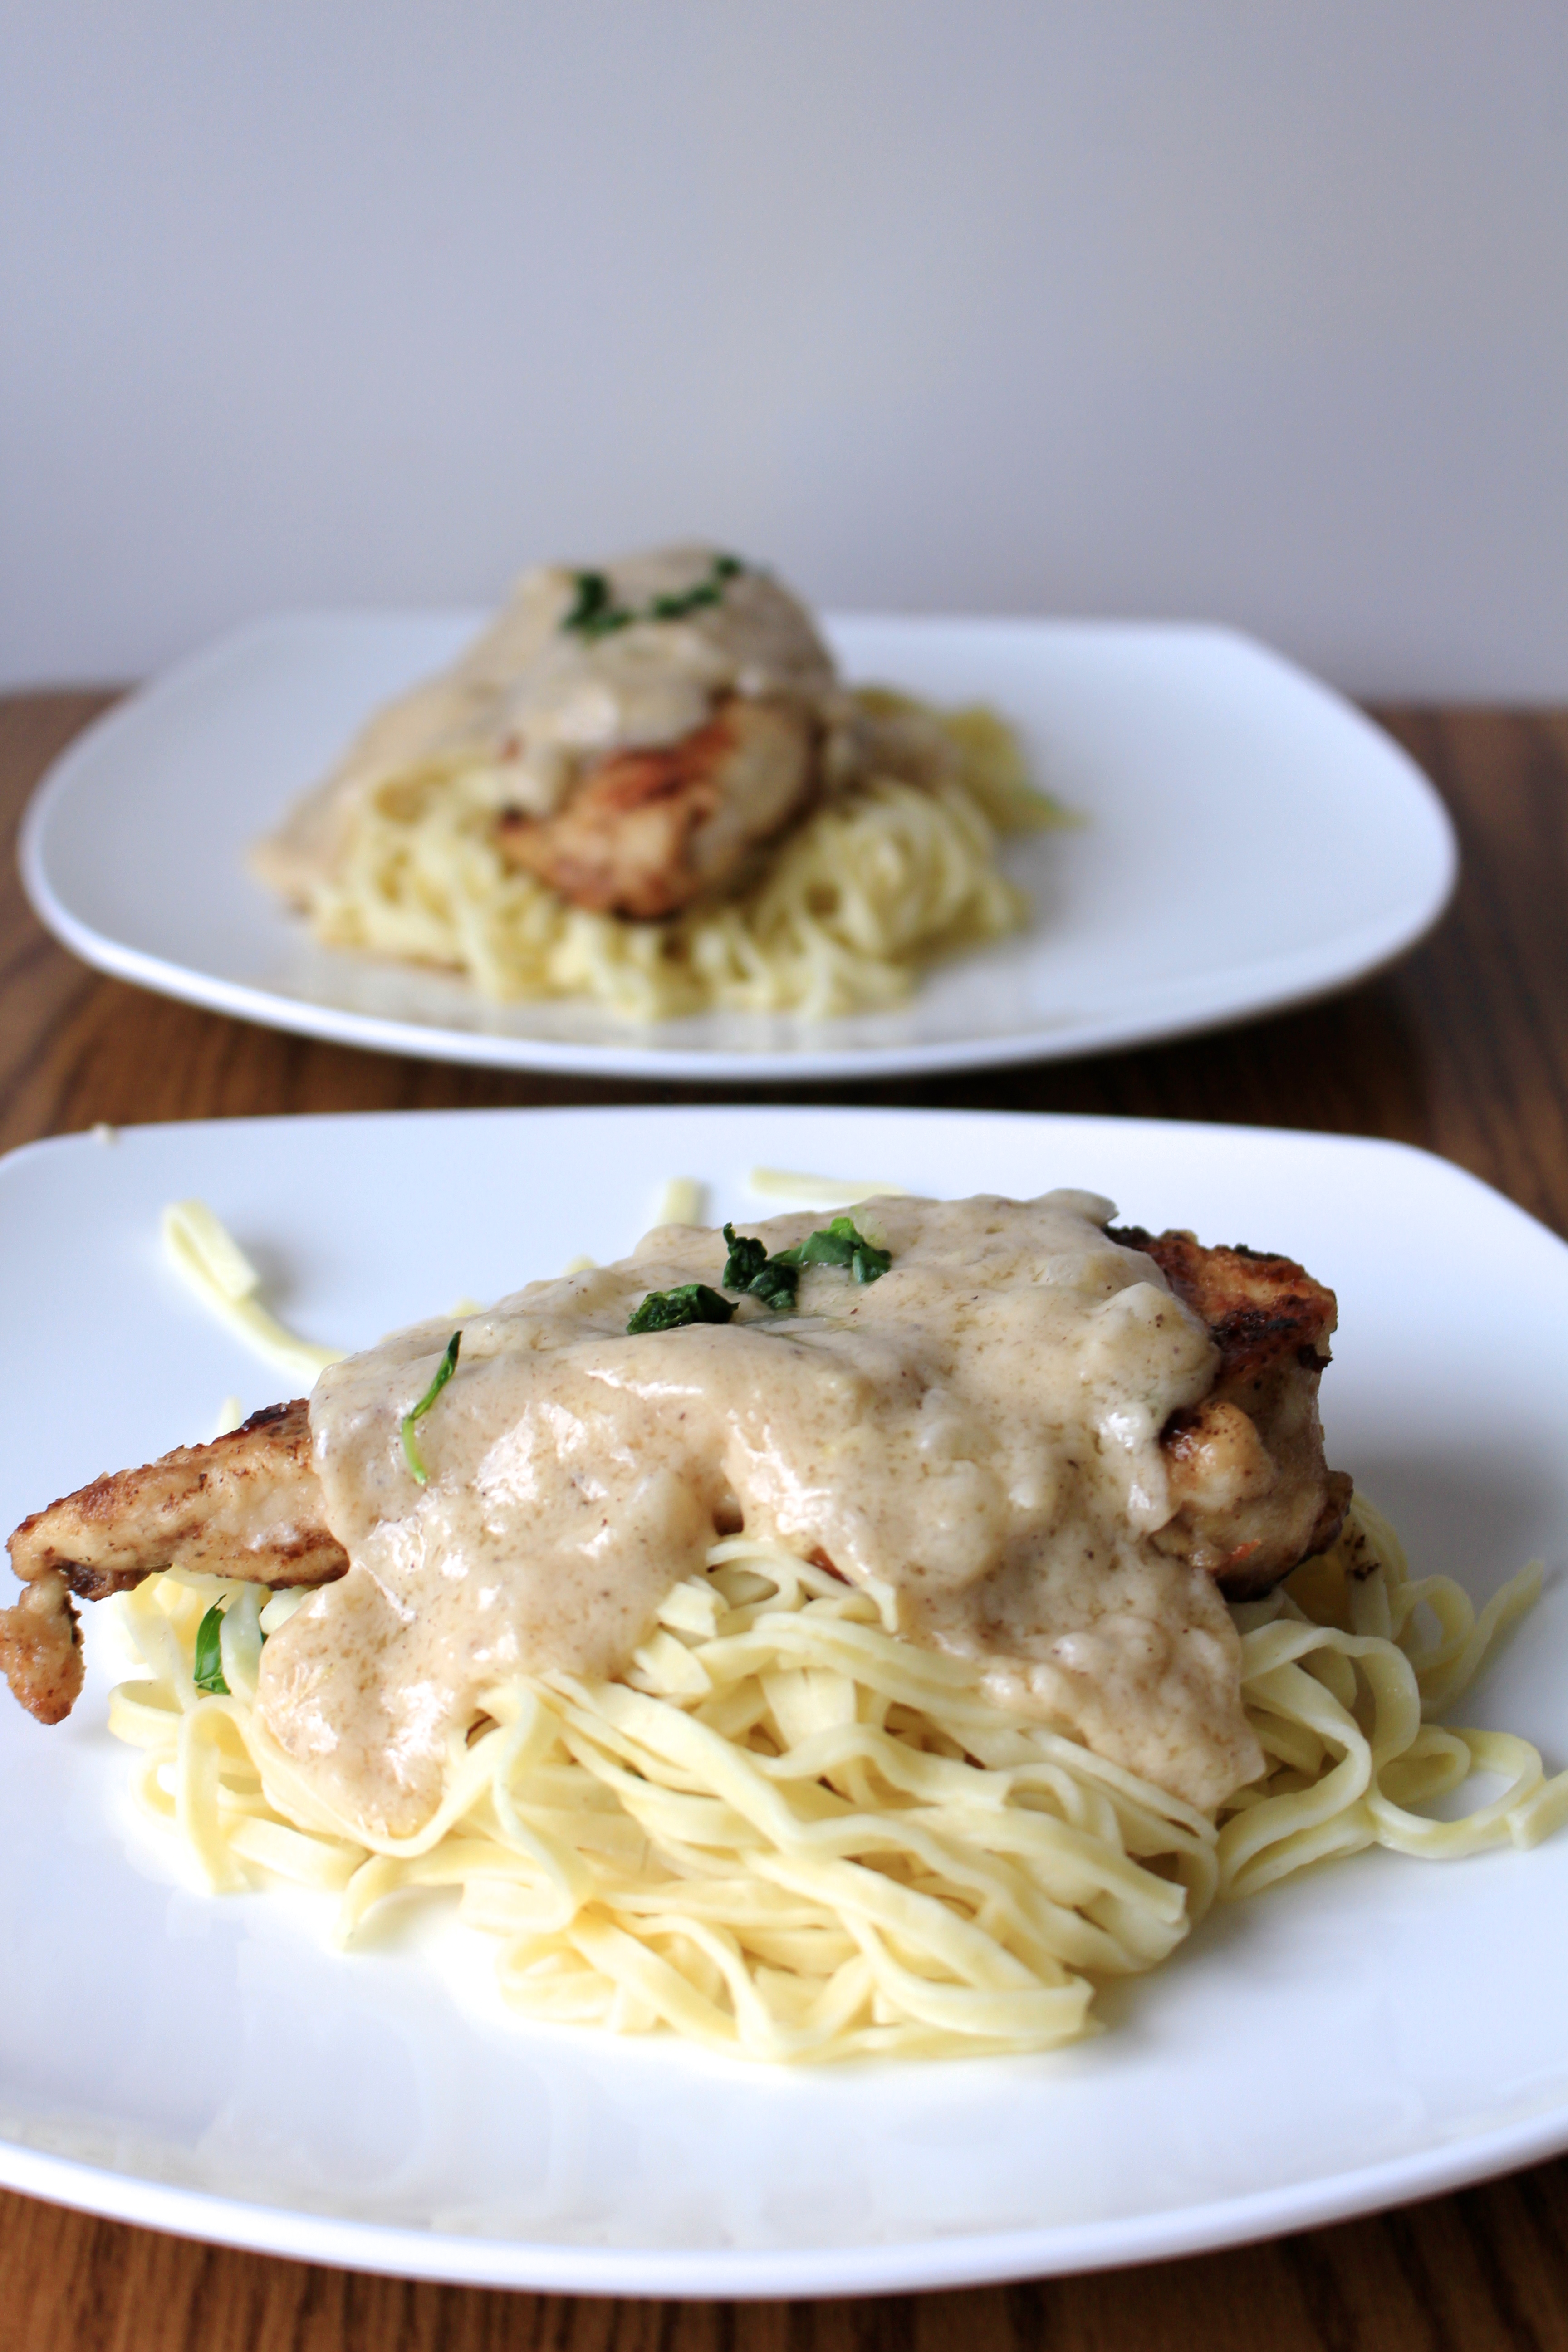
When I got it out, I topped it with basil AND parsley. I know, crazy, but it still tasted good!

IMG_2165

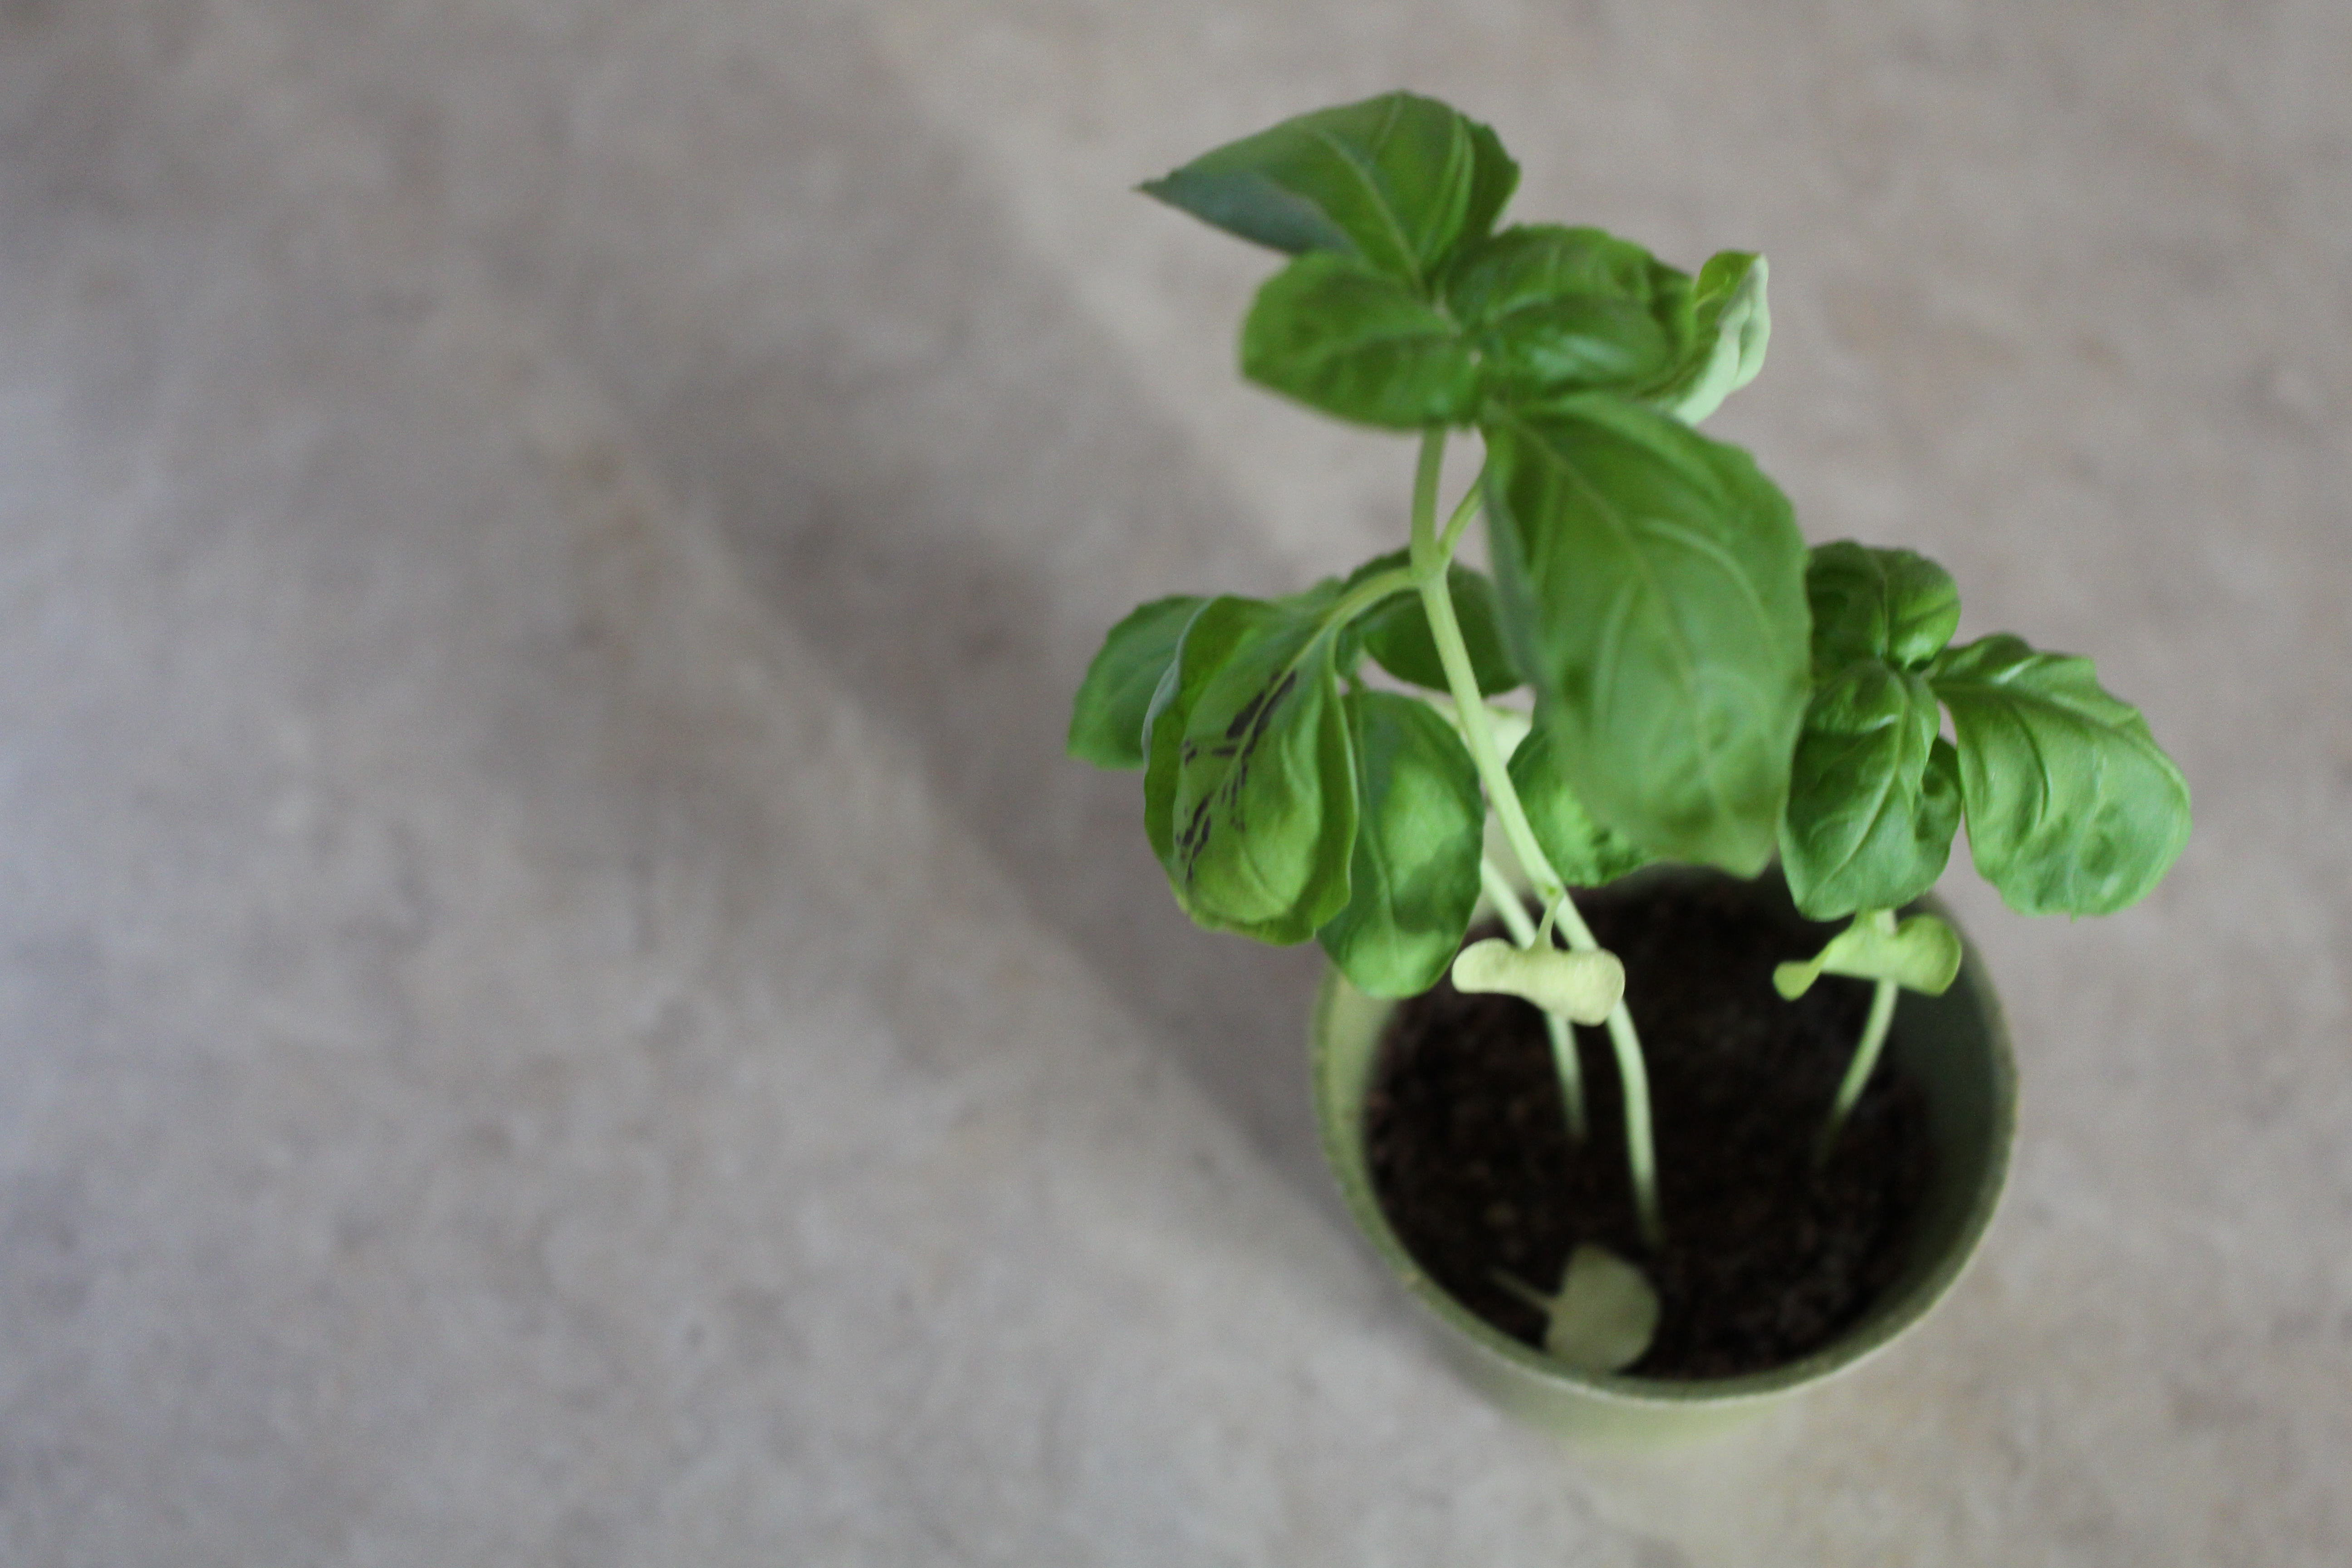
Is my basil fresh? Yes. Is it from the store? No. Where did I get my fresh basil? From my plant. Where is my plant from? Target.

IMG_2163

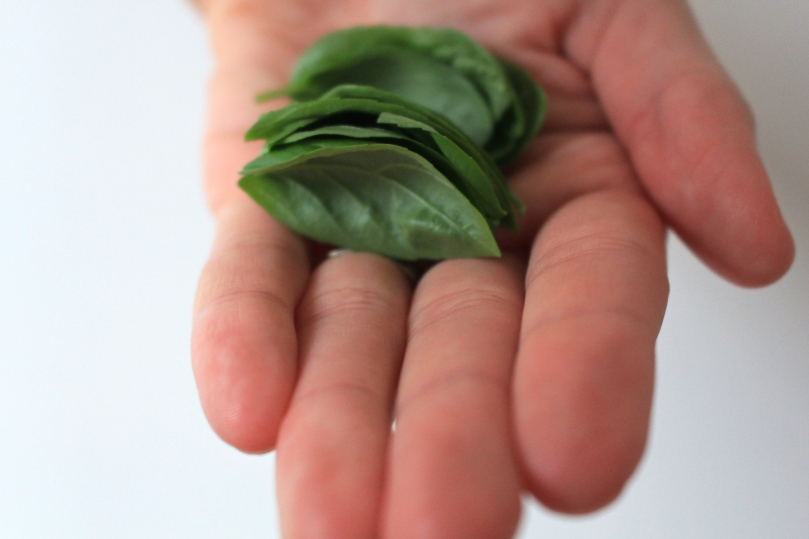
Yes, I got my basil plant from Target. IN THE DOLLAR SECTION! They always have these little containers that you came grow plants! They have all different kinds from herbs to flowers. When I first picked this plant up (October 2014), they had basil, pumpkin, and sunflowers. I just got the basil because I was afraid that it wouldn’t work. When I found out it did, the next time I was at Target, I got strawberry! Unfortunately, that plant did not make it. I think it needed a new pot or to be planted outside. I have gone back since and gotten more basil (I want this next plant to grow out the side, NOT the top!) and cilantro.

IMG_0052

This is a picture when it was a wee little babe!

While you’re here, please feel free to check out my Etsy page, Mantle of Waves! I have added quite a few prints to my shop. I’ve been working hard trying to figure out what people want and my calligraphy! I have always known that I have a lot to learn, but I never realized how MUCH! It just keeps coming! All I know is that I love doing this. LOVE it. Oh, and don’t forget to tell your friends!

IMG_2063 IMG_2064

Phone

Crispy Lemon Chicken Pasta

IMG_1938

What caught my eye on this recipe? Can you guess?

LEMON. The other reason is because I made another lemon chicken recipe awhile back and it was amazing! This recipe was slightly different than the other, so I was interested to see what we thought of it! My husband ended up liking it more than I did!

So let’s get started. What you’ll need:

pasta (I used fresh noodles for once)

lemon

butter

chicken

cream

flour

grated parmesan cheese

garlic

salt & pepper

garlic salt

(I added in some onion as well.)

I hope you’re a multi-tasker. I really struggle at it in cooking. Actually in everything, but I am a work in progress! So, multi-tasker.. while the noodles are cooking, start prepping your chicken.

IMG_1949

I now like to cut my chicken breasts in half. They cook faster and are easier to deal with!

IMG_1942

I coated the chicken in pepper and salt, then coat the chicken in some flour.

IMG_1941IMG_1947

Once the chicken is prepped, melt butter in a medium to large frying pan on medium heat until melted.

IMG_1951

Once butter starts to turn brown, add the chicken to the pan!

IMG_1953

Cook chicken all the way through! I would give a time for each side, but I feel like it’s always different. I normally try to follow the recipes’ time and it never is enough time it seems. Oh well! If you’re ever not sure, just cut a little bit down the middle to take a peek.

Next is the best part. The lemon. Zest one lemon and squeeze its juice. (Maybe two if you love lemon like me!)

IMG_1956

Add the rest of your butter to the SAME PAN you used for the chicken (less dishes, YES!). It should be about 1/4 of a cup. Add your garlic and onions, if you used them, to the pan.

IMG_1958

Add cream to cover the surface of the pan and simmer. Add your lemon juice and zest!

IMG_1960

It will (should) start to thicken and create a sauce. As you’re whisking, add the parmesan cheese into the mix and you should be finished!

For the plate, I added the noodles (with some basil mixed in), topped it with chicken, and poured the sauce on.

IMG_1964

One thing I would do differently- marinate the chicken in lemon juice to give it more of a full flavor!

IMG_1966

A Smoothie AND Infused Water Flavor


IMG_0921

I have found my favorite combo of flavors so far! It’s full of summer and deliciousness and pretty colors! I’m excited to share it with you tonight!

So the ingredients are…..

blueberries

blackberries

lemons

The extras depending on what you’re making are….

sage OR mint

granola

honey

milk (almond, or whatever you use)

water

First, I will start with the shake. I love this shake. I also love shakes during the summer. I think I just love everything summer. I randomly threw it together one day, and it was DELICIOUS. Now this one being photographed, I put a lot more fruit in and it made the shake a little more purple. (I was trying to shoot the fruit going into the blender.) As I always say though, these recipes are for you to use freedom! Wing it! Try an amount of ingredients. If you don’t like it, then make a note of it! I love using this philosophy when it comes to cooking because it helps me in a few ways. It helps me fight my perfectionism, be creative, have fun, try new things, and feel free. Yes, I feel all of those things doing this. Creating. I love it.

Ok, so, I always start with milk in my blender. This is so that it can blend properly. I’ve always had problems if I don’t put it in first!

IMG_0964

I added in the blueberries and blackberries followed by granola. I love having granola or nuts in my shakes as well.

IMG_0976

I threw in some fresh honey that I received from my grandparents. So great! Before I hit blend, I threw in some lemon juice. I’m realizing lemon juice is becoming a staple for me. Along with garlic, except not in this of course.

IMG_0995

I’m sure you can even squeeze in a dance of magic while it blends.

IMG_1003

IMG_1008

If you want it cold, you can add ice or some people use ice cream. I’m not quite sure what a healthy or healthier alternative to that would be. Maybe frozen cool whip? Maybe frozen bananas? If you know one, let me know! Happy sipping!

Ok, second. Here is the infused water! Again, I love these flavors. I love the colors. I love this drink!

IMG_0942

With infused water, I start with.. Well, water! Infused water is all about your taste as well. YOU pick how much goes in it!

So, blueberries, blackberries, and slices of lemon go in.

IMG_1018

Lastly, add in sage OR mint. I love mint for its strong taste. I love sage for its sweeter taste. (My personal opinion.)

IMG_1013

In this one, I used sage. Partially because I had already tried the mint one. Now I know summer is almost over (at least for me- the definition, not the weather), but you still have time! I hope you enjoy it! Feel free to let me know of any you have tried this summer or previous ones- shakes or infused water! I love trying new ones!

IMG_1014

Ham & Cheese Roll-Up

Are you ready for a quick and simple recipe? I am ALL about these, because sometimes, I just can’t make it home early enough to prepare a big meal. I also have to admit that some days I come home and don’t actually feel like cooking, so these recipes are perfect for me during those times. With these types of recipes I like to carry the ingredients just in case, then whip them out when we need them (which is more often then I realize). When my husband saw it cooking he said, “Oh! Is this Stromboli?” Basically! He gave it a 9! He loves these meals, especially when I give them some extra cheese. Another thing I love about this meal is that you can make it as big or as little as you want. You can make it with a salad or corn or green beans on the side! You can add pepperoni or spinach or sausage. You can add green pepper or tomato!

I used 3 ingredients:

pizza dough (you can make your own or buy one)

deli ham

cheese (mozzarella, pepperjack, and parmesan)

Are you ready for this? It’s going to go quickly. Here we go.

Heat the oven to 400 degrees.

IMG_1346

Roll out the dough. Add the slices of ham (or whatever you want). Sprinkle cheese.

IMG_1347

Roll up the dough into a log. Pinch the sides closed.

IMG_1356

Place on a baking sheet with some foil. Stick it in the oven and cook it for 30 minutes! If you make it bigger, you may want to cook it longer because the middle takes awhile to cook! The top should be golden brown and the cheese should be melted! We topped it with parsley and dipped it in mustard! (He had honey and I had dijon!)

IMG_1370

IMG_1365

IMG_1367

Happy eating!

Skinny Shrimp Alfredo Pasta Bake

IMG_0853

My husband had bought a can of Alfredo sauce awhile back, because he was craving it. I needed to use the rest of it somehow, so I started looking up some recipes. I found a few with shrimp that caught my eye, but I decided that this one looked too good for me to pass up!

This recipe takes about an hour to make. An hour and a half or two hours depending on whether you’re snapping pictures or not. 😉 You will need…

IMG_0827

penne pasta (You can use whole wheat as well.)

shrimp

chopped fresh parsley leaves

olive oil

salt & pepper

diced tomatoes, drained

mozzarella cheese (We always use a lot.)

crushed red pepper flakes (You don’t have to use these.)

grated Parmesan

fresh lemon juice

If you want to make your own Alfredo sauce, the recipe I followed gave one. You can find it here. For this recipe, I used cocktail shrimp that was ready to go! If you don’t, you can preheat the oven to 400 degrees. Oil or spray non-stick spray on a baking sheet and cook for 6-8 minutes. The shrimp should turn pink when they are ready.

IMG_0820

Begin cooking the noodles! I always add salt to the noodles to prevent them from sticking together. Some people use oil- your choice! Drain the noodles once they are cooked.

IMG_0836IMG_0839

I normally lose a few when draining. Once your shrimp are done cooking, lower the oven heat to 350 degrees. Prep your baking dish by spraying it with non-stick spray. While you are waiting for the oven, combine all the other ingredients into a bowl. Don’t forget the lemon juice!

IMG_0833

Once combined, pour into the baking dish and flatten. This time, don’t forget the Alfredo sauce (like I did for a minute). Pour the sauce over the ingredients.

IMG_0842

IMG_0843

If you’d like, add more cheese to the top! You can’t have enough cheese. For the cheese topping, I used Kraft Parmesan!

IMG_0844

IMG_0847

Bake in the oven for about 10 minutes until the cheese has melted. It may not turn golden brown in that amount of time, so if you’d like it that way- keep cooking it! While it is cooking, you can prepare your plates! I cut a slice of lemon and used a bit of parsley.

IMG_0849

When it’s finished, add the deliciousness to your poor empty plate.

IMG_0854

In the end, the husband gave it a 7! The recipe said it served 4, but somehow, mine managed to serve 8! We had TONS of leftovers (not a bad thing)! We must eat small portions or something. My final thought: I liked the parsley taste, but I’m curious to know how it would taste with basil.

Enjoy!