Rosemary Hot Chocolate and Lavender Marshmallows

IMG_9534

Is hot chocolate your version of coffee? Love hot chocolate, but want a new twist? Here it is a new twist! The marshmallows are just a plus! 🙂 You will need…

two envelopes of unflavored gelatin

1/2 c. sugar

2/3 c. light corn syrup

1/8 tsp. salt

1 tsp. pure vanilla extract

lavender oil

non-stick spray

IMG_9526

Place parchment paper over a 12×17 baking sheet and cover in non-stick spray. Get 1/3 c. cold water and gelatin in an electric mixer. Let this sit while you make the next part! Pour corn syrup, sugar, salt, and 1/3 c. water in a pot. Cover the pot until boiling. Remove the lid and stir every so often until the syrup hits 238 degrees or until smooth!

IMG_9540

Pour the hot mixer gently into the mixer. You don’t want it to splatter everywhere! Slowly move the mixer speed up until the marshmallow mix turns into fluff! While spinning, add the vanilla extract and ONE drop of lavender oil. (DO NOT USE MORE THAN THAT! It will take  OVER the flavor!) Once it is fluffy and wispy, pour the mix onto the baking sheet! Spread the marshmallow fluff with a knife. Wait for 3 hours or over night for it to harden. Spray cookie cutters with non-stick spray before you cut them out. They will not work if you don’t!

IMG_9505

Now onto the hot chocolate! This is super easy and adds so much flavor to hot chocolate. I have hot chocolate powder that I use, but you can make the crockpot hot chocolate and add rosemary twigs while it cooks! You can either clip the rosemary pieces off the stem or just put them in the hot chocolate whole. I heat up water, add a little milk, powder, and rosemary! I then sprinkled some dark chocolate pieces onto the top and added my marshmallows!

I LOVED the combined taste of the lavender and rosemary! If you have a lot of guests over this Christmas OR are celebrating with a few, this is a simple recipe that you can whip up by yourself or together!

IMG_9525

I hope you all have a wonderful Christmas together with family and friends! I know I will!

Pear Recipe #3

IMG_9107

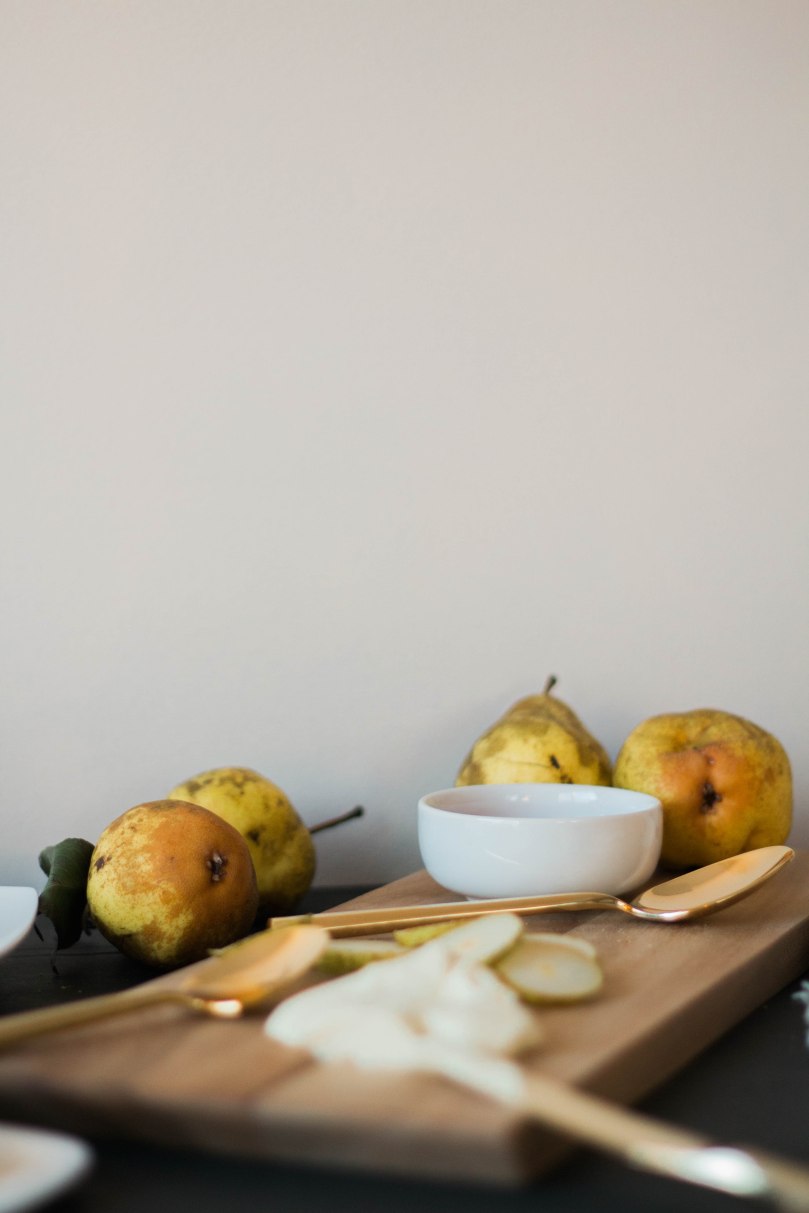
Here is the final pear recipe of the bunch! It was definitely fun while it lasted. Editing pictures with these pears posed quite the challenge. Everything was coming out crazy orange! I also had tons of frustrations with styling it all! This is the most ingredients I have had and I just felt stuck. So I feel like my pictures look that way too. BUT, I am trying to look at this as GROWTH. 🙂 I also realized how much honey I use in recipes, so I am now on the look out for a honey dipper!

IMG_9109

For this recipe, you need almost the same ingredients as recipe #2! You will need…

PEARS

brie cheese

jam

honey

cinnamon

bread (I used wheat)

butter

IMG_8980

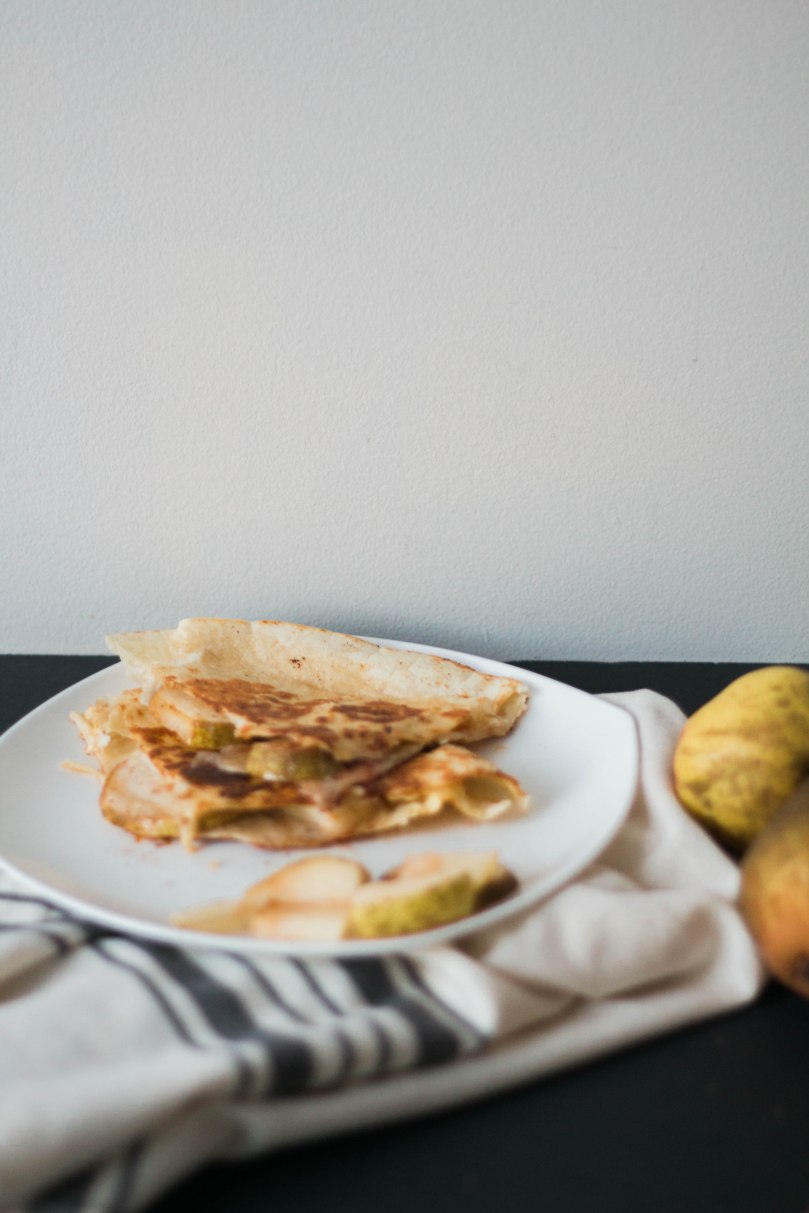
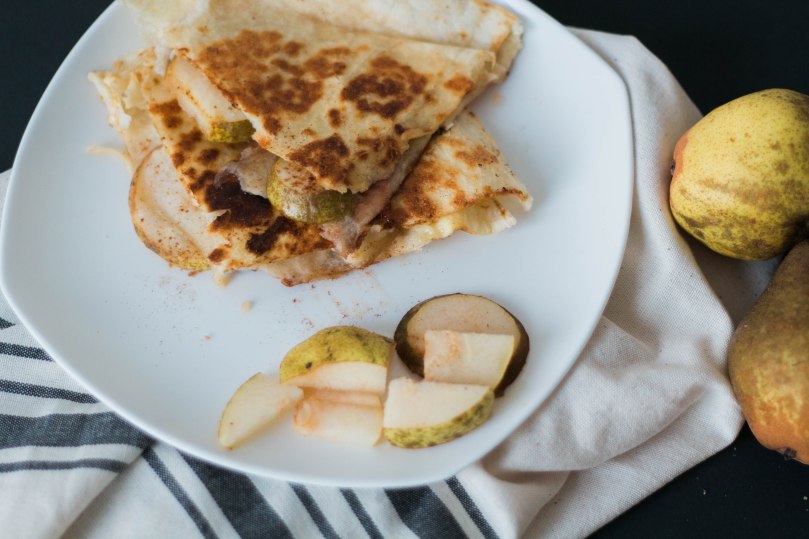
This recipe is almost EXACTLY like the last one, except in grilled cheese form! Coat the outside of the bread with butter and turn a frying pan onto medium heat! Place as much brie cheese, pears, cinnamon, jam, and honey in the middle! For jam, we used strawberry because it was what we had in our fridge. It was suggested to use marmalade, but we didn’t have it! Cook until the outside of the bread is crisp and brown or the cheese is melted! Cut into slices and enjoy!

Pear Recipe #2

IMG_9108

I will continue to say this over and over again. I am all about easy recipe! Especially recipes that taste good! One of these was shared by a friend and the other was found and given a twist (which will be shared later!)

IMG_9146

#2 includes quesadillas! You will need…

quesadillas

pears

honey

brie cheese

cinnamon

butter

IMG_9147

Coat the outside of the quesadillas with butter and turn a frying pan onto medium heat! Place as much brie cheese, pears, cinnamon, and honey in the middle! Cook the quesadilla until the outsides are crisp and brown or the cheese is melted! Cut into slices and enjoy!

Pear Recipe #1

IMG_8999

Time to fill your glass or mug or cup! This is a great drink to start your holiday mornings! The ones that are left that is. (Christmas and New Years..) I’m a little behind on the times- trying my best to catch up!

IMG_8980

You need some…

IMG_8973

pears

orange juice

apple juice

champagne or sparkling cider

rosemary

This is where you get to have fun! Whichever you’d like to taste more of, use that the most! I made two different recipes and loved them both! One recipe I used more orange juice and the next one I used more apple juice!

Mix it all together and there you go! Put some rosemary on the top of that glass or inside the mug for some added flavor! If you’d like to add some more flavor, cut some pear chunks into the drink. You can also slice the pear and place it on the side of your drink!

I love using the Moscow Mule mugs because they keep your drinks extra cool!

Cheers!

Christmas Table Inspiration

For our Thanksgiving dinner, I was able to style our table! This was the first time I was working with a table and I loved it! I am now in the process of planning a mini-styled table shoot in a few months! Now, this is a Thanksgiving table, but it can easily be transformed into a Christmas table!

I used kraft wrapping paper, candles, a Target table runner, sparkling cider bottles (spray painted and non), dried Eucalyptus (MY FAVORITE!!) from Kroger, and a white paint pen for the writing!

For the writing, I had to do a few layers for the white to stand out!

For the candles to fit, I had to cut their sides down! You have to be careful though, because you can cut them down too small! They will fall down to the bottom of the bottle! 😦

If you’re wondering about the bottles and how I got the stickers off.. I soaked them in water mixed with vinegar! I soaked them for an hour and they came right off! The spray paint took to them really well, too! It was an easy and quick DIY!

Want to use this for Christmas? Easy! You can either keep it the way that it is or throw in some pine garland! You could even take out the red table runner to make it a little more moody and simple! I would use gold candlesticks, a garland, and the kraft paper!

Happy Decorating!

Basil Chicken Recipe

IMG_8031

Grocery List

1 lb boneless chicken breast

5-6 diced tomatoes

8 oz. pasta (did I use 3 different kinds because that’s all we had left? yes.)

3 minced garlic cloves

1/4 c. olive oil

1/4 c. butter

1 handful of chopped basil leaves

red pepper flakes

IMG_8028

Add oil to a pan and put on medium heat. Cover the chicken in salt, pepper, and red pepper flakes. Place the chicken in the pan and cook until browned 6-7 minutes on each side. While the chicken is cooking, get the pasta going. You can just follow the directions on the back!  When the chicken is done, put it to the side and simmer the pan. Once the oil is cooled, add the tomatoes. Mash the tomatoes until it is more like a sauce. Add the garlic, butter, and red pepper flakes. Mix it all together, then add the chicken and let it soak for a bit. Once chicken has soaked, add the basil (right before dishing- save some for garnish). Put the pasta, then chicken, and then basil leaves (garnish)! If you would like to, add cheese. We love cheese in this house, so that’s always a YES.

IMG_8025

Enjoy, enjoy, enjoyyyy!

Roasted Red Pepper Soup

IMG_8009

grocery list:

1 onion

1 carrot

1 celery stalk

2 tomatoes

2 red peppers (cooked 425 degrees for 25 minutes) or 12 oz. jar whole roasted red peppers- drained & chopped

fresh parsley (mixed in and garnished)

thyme

1 bay leaf

vegetable stock (3 c. – or chicken)

cream (1 c. – I used Great Value Heavy Whipping Cream)

feta cheese crumbled

4 tbs. of butter

1 tbs. of flour

oil

croutons (if you don’t want to make your own, bread if you do)

salt and pepper

cumin

red pepper flakes

IMG_8016

Melt the 4 tbsp. of butter in a pot at medium heat. Once melted, add the chopped onion, carrots, and celery.  Cook until softened, which will be about 5-10 minutes in. Add 1 tbs. of flour and leave for 2-3 more minutes. Add the tomatoes and smash them with the spoon. Add the chopped roasted red peppers.

IMG_8005

Add the thyme, bay leaf, parsley, cumin, red pepper flakes, and the 3 c. of veggie stock! Let it simmer for 30 minutes and stir occasionally. Once simmered, remove the bay leaf and thyme sprigs.

IMG_8020

Put the mix into a blender or food processor. At this point, you can either put the blended mix through a strainer back into your pot or just pour it all back in. I prefer my soup to have more texture, so I kept the chunks! Add the cream and reheat the soup on low or simmer.

IMG_8003

Top with parsley, crumbled feta cheese, and croutons!

IMG_7999

Stay cozy and enjoy! 🙂

Pear Pancake: Dessert or breakfast dish?

IMG_7332

In my previous post I shared how my husband got all of these pears with his boss and today, I am going to tell you about one of the recipes I tried with pears! This recipe is the pear pancake!

IMG_7349

Ingredients…

4 cups of peeled pears, diced

4 large eggs

4 tbsp. of butter

3 drops of lemon oil

2 tbs. firmly packed brown sugar

1 c. whole milk

1 c. all purpose flour

1 tsp. vanilla extract

1 tsp. ground cinnamon

1 tsp. ginger

1 tbsp. honey

1/8 tsp. salt

powdered/confectioner’s sugar to dust

IMG_7359

Heat your oven for 425 degrees, but before you do that, make sure that at least one of the racks is at the third lowest ring.

I used a frying skillet for this recipe, but you can use a large frying pan if you would like. Set the skillet for medium heat and add 2 tbsp. of butter. Once the butter is melted, add the 4 cups of pears and 2 tbsp. of packed brown sugar. Cook until brown/crisp, for about 4 minutes, stirring occasionally. Add the 1 tsp. of cinnamon, 3 drops of lemon oil, 1 tsp. of ginger, and 1 tsp. of honey to the mix and stir in. Top off with the last 2 tbsp. of butter, and cook until the butter has melted.

IMG_7333IMG_7337

In a separate mixing bowl, whisk the 1 c. of whole milk, 1 tsp. vanilla extract, and 4 eggs together. Once mixed, add the 1 c. of flour, pouring a little at a time. Add 1/8 tsp. of salt and mix thoroughly together. Pour the batter gently over the fruit. Bake until golden brow/puffy for about 20-25 minutes. I baked mine for 23 minutes. Once finished, cover with confectioner’s sugar.

IMG_7344

This recipe can be served as a dessert or a breakfast meal! You can side it with ice cream or syrup! This is not a recipe that has a zing factor to it, which I expected when I first made it. It is a subtle, sweet treat that is very versatile and easy to make! It can also easily be made into a gluten-free dish!

IMG_7341

Lamb Chops

Hello all! I hope you are LOVING the beautiful weather we have been having! I’m especially enjoying the tree in our front yard. It has a beautiful mix of yellow and orange leaves that I’m soaking in because I know it won’t last long!

IMG_7223

This is going to be a quick post because I have been insanely busy lately! Also because I need to go to sleep. I have a long two days of school and parent-teacher conferences ahead of me! Be on the look out though! We got a big bucket of pears and I am going to try all the pear recipes that I can get out of them!

IMG_7228

Anyways, I’m going to share with you one simple way that you can spruce up your lamb chops! When you cook them, cook them with Rosemary and Thyme along with your spices! It brings it more flavor, which then makes it more enjoyable! 😉 Throw in a side of cucumber with feta cheese and pepper and you have a balanced (somewhat) meal!

IMG_7224

I hope you enjoy this simple step! We ate our lamb with “YumYum Sauce.” It was introduced to us by a friend, and WE CAN’T STOP using it! Seriously. We now use it on our tacos!

IMG_7231

IMG_7235

Gluten Free Chocolate Cheesecake: TWO Ways

IMG_5211

A few weeks back we went camping with our church! We had a wonderful time fellowshipping, eating, and just camping with our friends and family. It was our first time camping and we brought Thea, so it made for an interesting experience. She did not do well being tied up and away from us. She also didn’t sleep well at all! She was all over the place sliding up against the tent and jumping to try and see out of the top. IMG_5232

They brought in line dancing instructors and we took a swing at it! I was very confused at first and it took me awhile to get the hang of it. Normally, I catch on pretty quickly, but this time that was not the case!

IMG_5291

It was fun none the less! 🙂 The view wasn’t bad either. We had a beautiful sunset and danced under lights!

IMG_5297

We were in charge of bringing a dessert for Friday night. My sister-in-law was in our group and she is gluten free! I know noting about gluten free-ness, so of course, I took to Pinterest! It’s definitely my go to especially if I have something that I don’t know how to cook or what to cook with it. We have meat waiting patiently for me to find a recipe to make it with! Anyways, I ran across this beautiful cheesecake recipe! I LOVE cheesecake, so I figured I’d give it a shot! I am so glad I did! Like most recipes I stumble upon, this one has a lot you can do with it!

IMG_5832

In this post, I will be showing you its versatility by including two recipes! The basic and then the additional! The first will be the basic, then I will talk about what to add to make it a little bit different and for the flavors to pop more!

\IMG_5814

Here are ingredients that you will/may need…

chocolate:

8 oz. bitter chocolate (I kept a little extra for the shavings!)

3 tbsp. unsweetened dark cocoa powder

1 or 2 bags chocolate gluten-free graham crackers (Can be done with one, but I’d do two!)

basics:

1 cup powdered sugar

6 tbsp. unsalted butter

2 1/2 cup heavy whipping cream (make sure you have extra!)

8 oz. cream cheese

pans:

9 in. springform pan

OR

9 in. deep pie pan

IMG_5796

For the crust, crush the 2 bags of chocolate graham crackers and mix in the 6 tbsp. of unsalted butter. Put it in the freezer to cool while you whip up the rest! When putting the crumbs into the pie pan, make sure you push the sides up to create a heavy-duty type crust!

IMG_5807

For the chocolate mix, melt 6 oz. of the chocolate in the microwave. I finally mastered the melting of the chocolate and for my microwave- it’s 2 minutes! No more, no less! It was PERFECTLY melted!  First time that it has happened to me! Once melted, add the 3 tbsp. of cocoa powder. Stir in until combined and smooth again! Set aside to cool.

IMG_5806

For the cream, mix the heavy whipping cream into a stand mixer using the whisk. I have a kitchen aid and I LOVE it. My siblings are to thank for having this! They bought us the most expensive thing on our registry!

IMG_5762

Stir on medium-high speed until you see it thicken. There will be a lot of bubbles! Once here, add the powdered sugar. Stir until whipped. When it is time, you will know! It will look like whipped cream! It’s puffy and there will be peaks! Put in a new bowl and place in the refrigerator to cool.

IMG_5792

Now to finish off the chocolate mix! Switch the beater to the paddle and stir the 8 oz. cream cheese on medium-high speed. Once mixed, pour the chocolate mix in and continue to stir. Get the cooled cream out of the fridge and add it to the mix. It should become creamy, fluffy, chocolate goodness! If it needs a little puffing, add cream by the tablespoons until you get the consistency that you want/need!

IMG_5802

Get the base out of the freezer and pour the cream, chocolate mix onto the graham cracker crumbs. Curl up some chocolate crumbs/toppings using a knife or a skin slicer! Let cool for 1 hour in the freezer or 2-3 in the fridge. I always go with the freezer because I like the colder cheesecakes!

IMG_5819

Now it’s time for the alternative recipe! I changed 4 things. In the chocolate mix/cream mix, The first was adding 2 tsp. of ginger. The second was adding 4 drops of lemon oil! This stuff is strong, so don’t get carried away. This is probably the one time you will hear me say to follow the recipe! Adding even less than that would be alright! The third thing that I changed was making another layer of whipped cream. The fourth thing that I changed was the crumbs! I used ginger snap cookies! (This obviously no longer makes it gluten free…) If you want to add that second layer, just follow the directions previously shared!

IMG_5823

I hope you enjoy! I know I enjoyed sharing with friends and family!

IMG_5800

Also, this was my first time using a black backdrop and I am IN LOVE. I don’t know how I’m going to go back to white! I’m realizing that I really like the darker, thicker contrast images. I always thought I liked the higher exposure ones, but I guess that is a part of the journey! Finding yourself! So here’s to that and learning something new!